
Kozyrev Mirror Experiment at Home: A Simple DIY Setup With Sound Frequencies
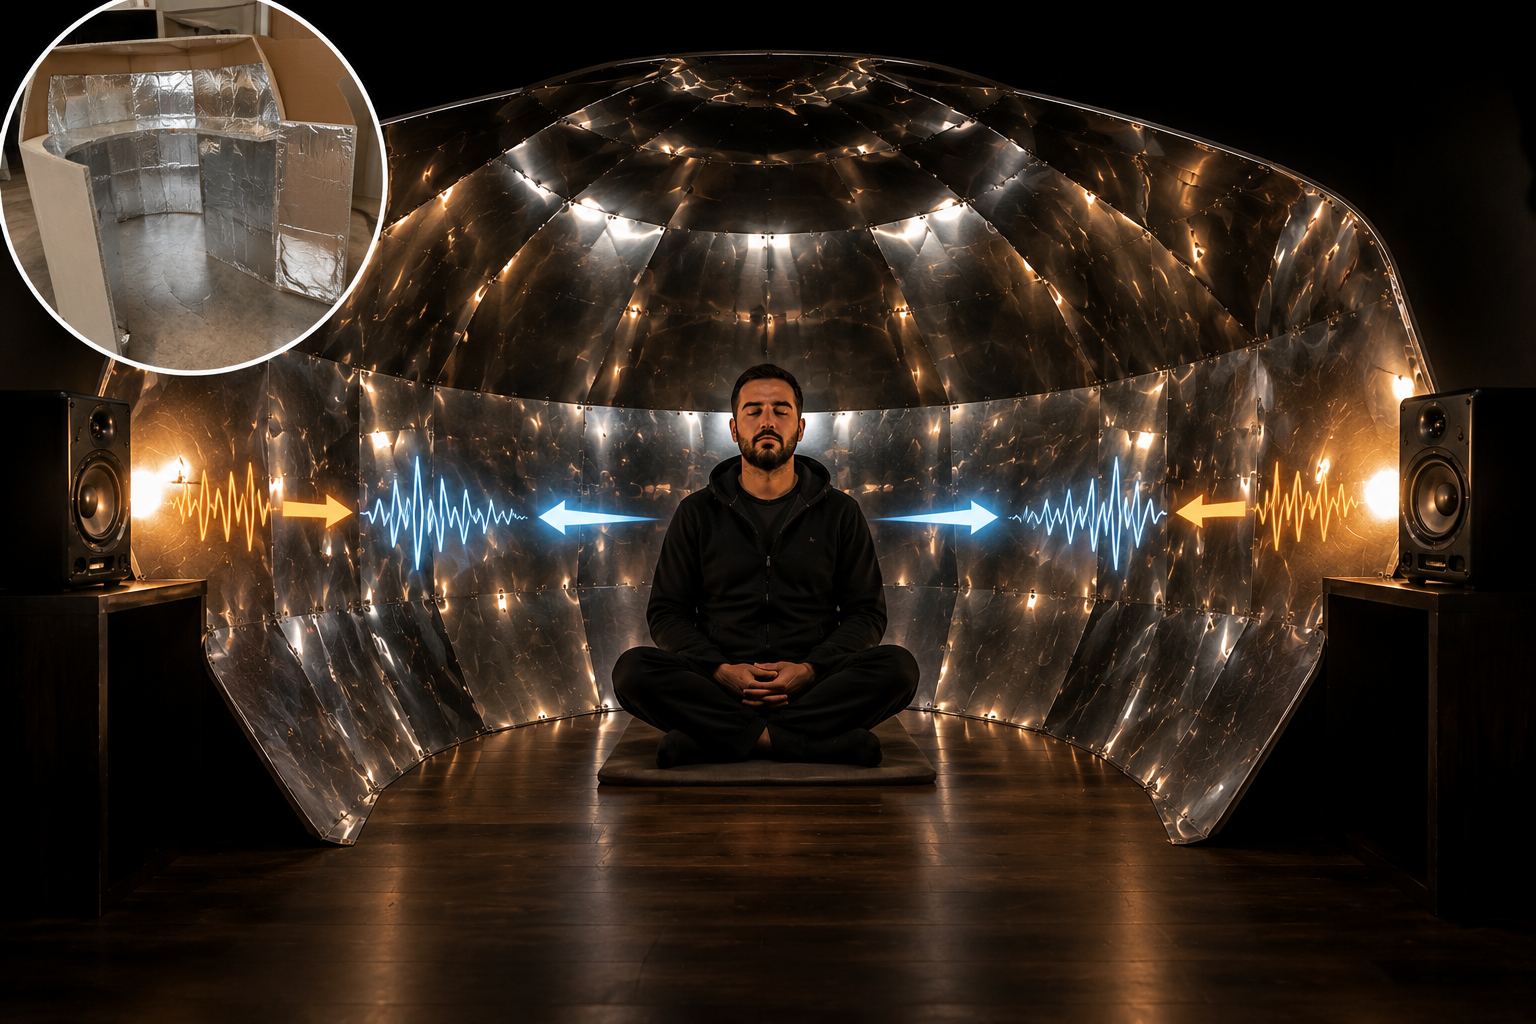
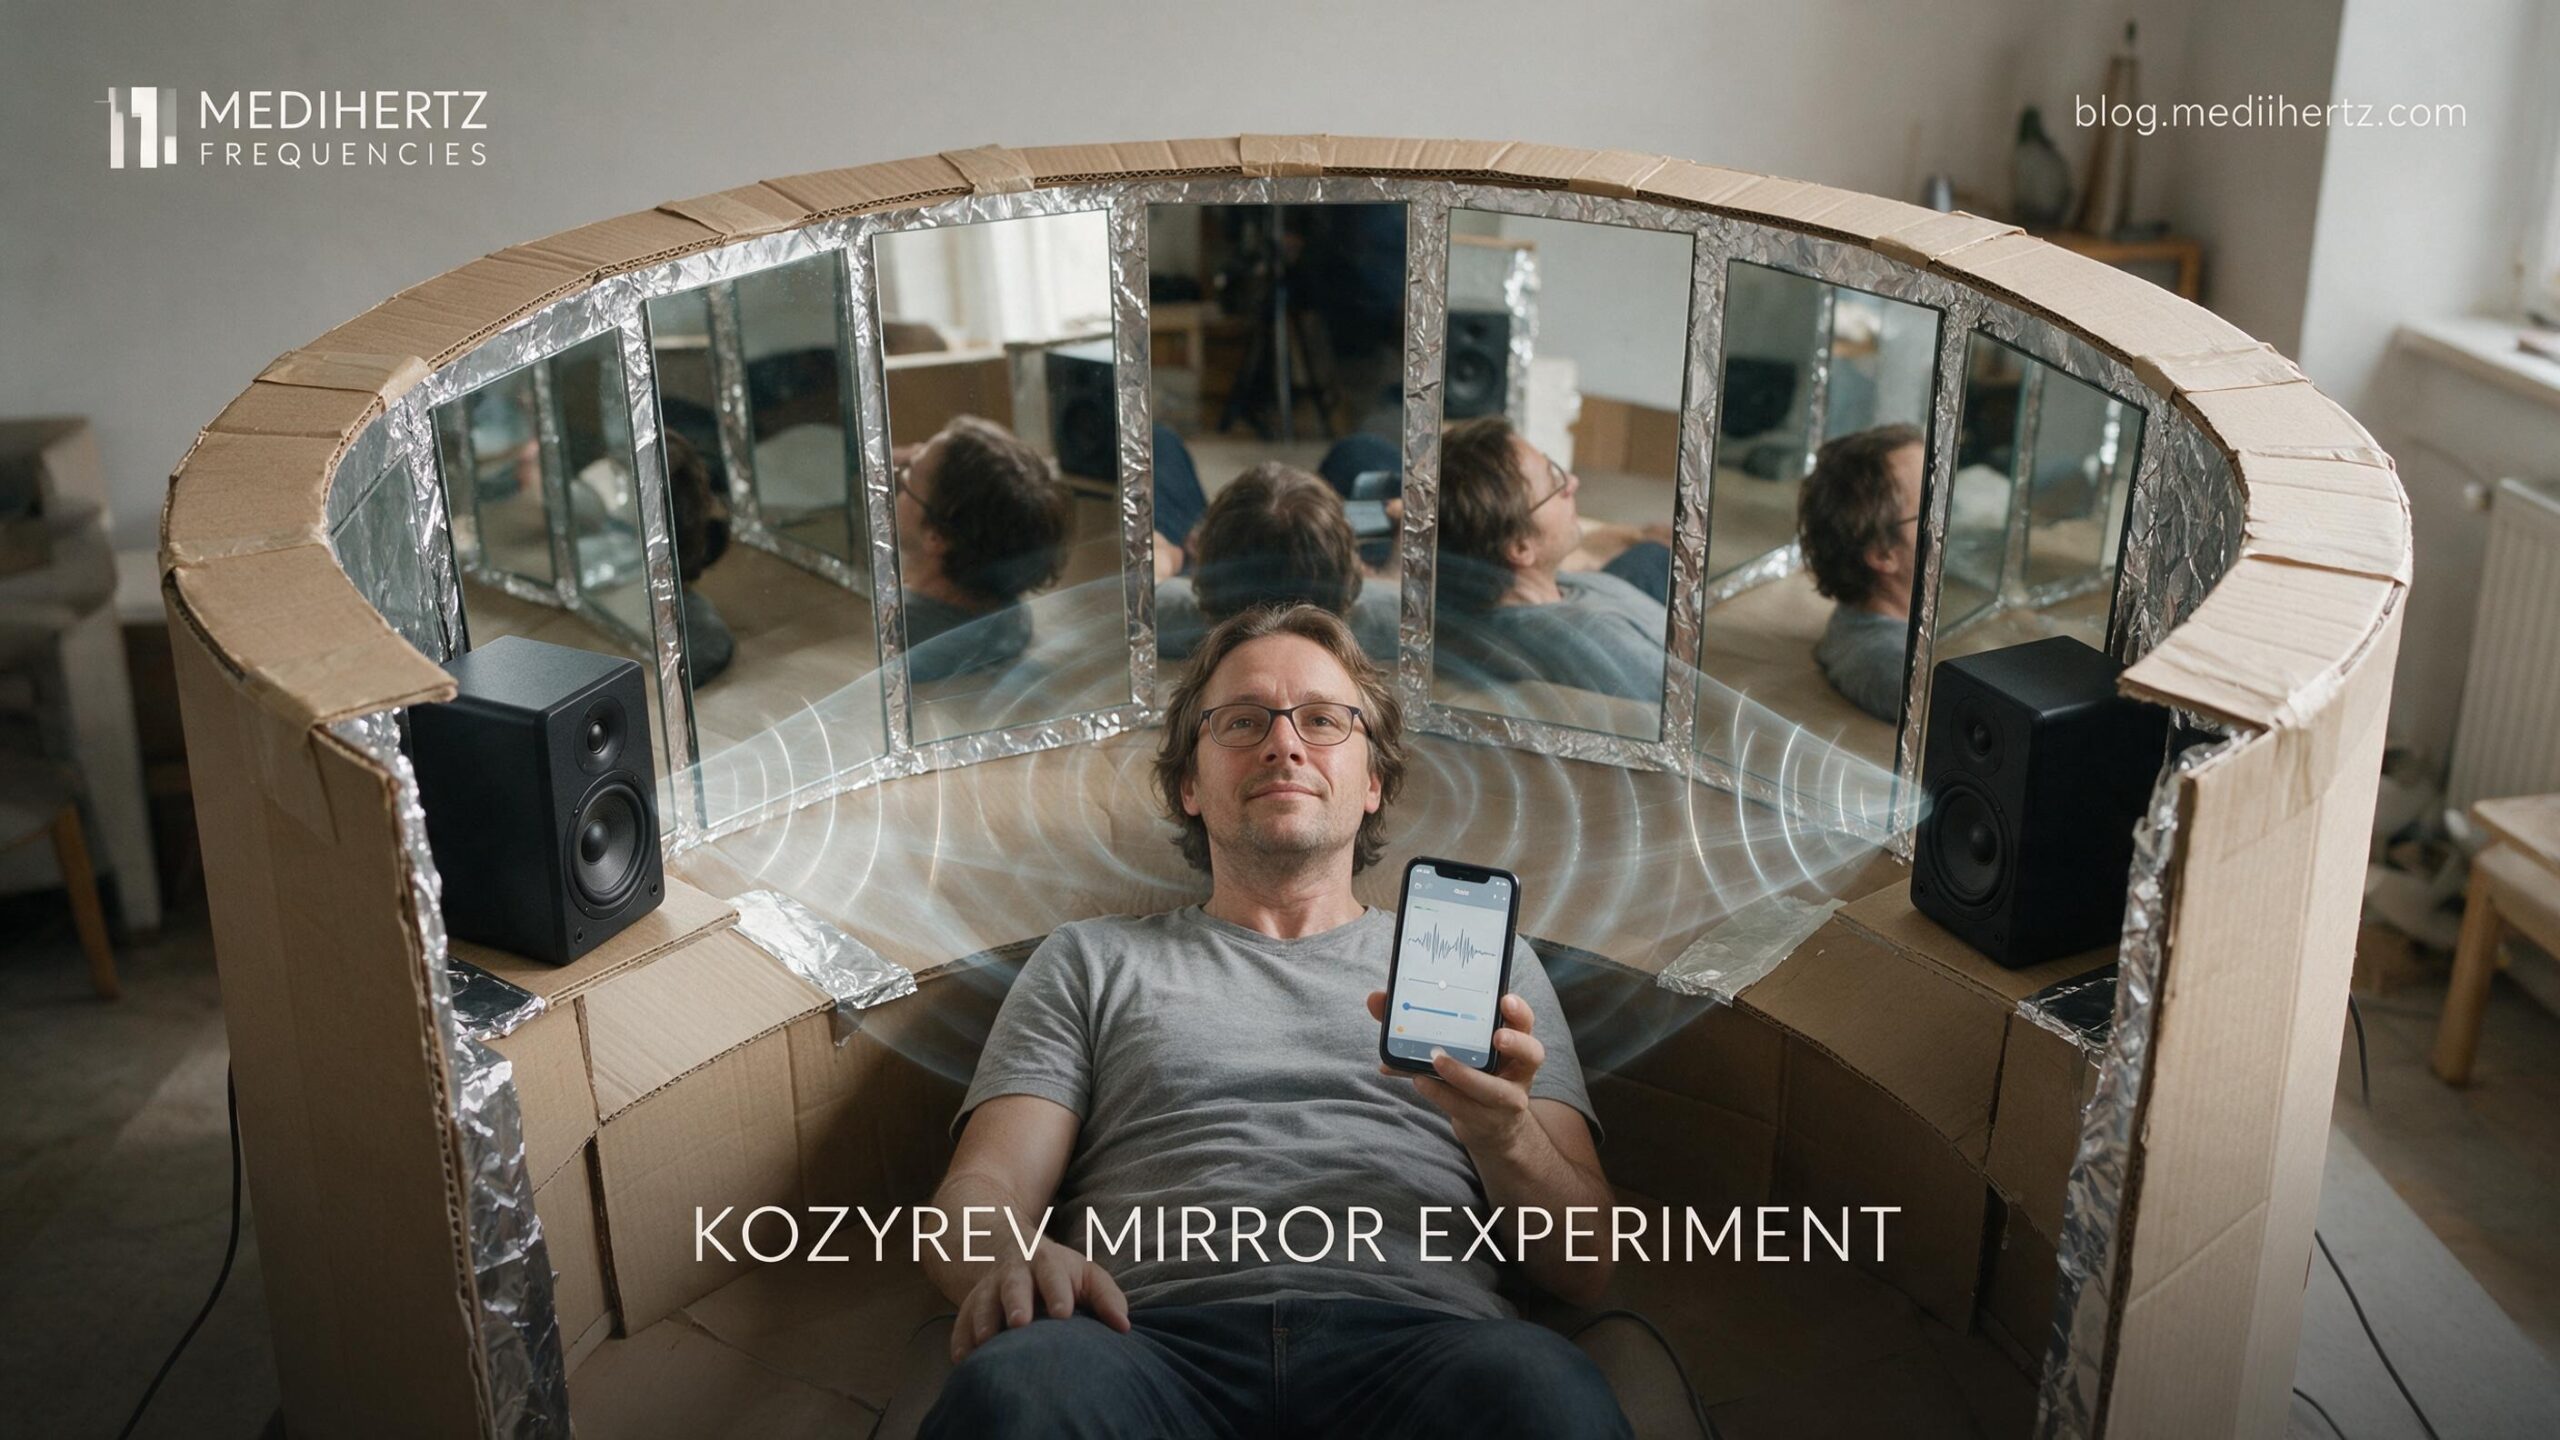
The Kozyrev mirror is a fascinating experimental concept associated with Russian astronomer Nikolai Kozyrev and later experiments involving curved reflective surfaces, altered sensory experiences and unusual claims about time and perception.
You don’t need an expensive laboratory structure to explore the basic idea as a personal experiment.
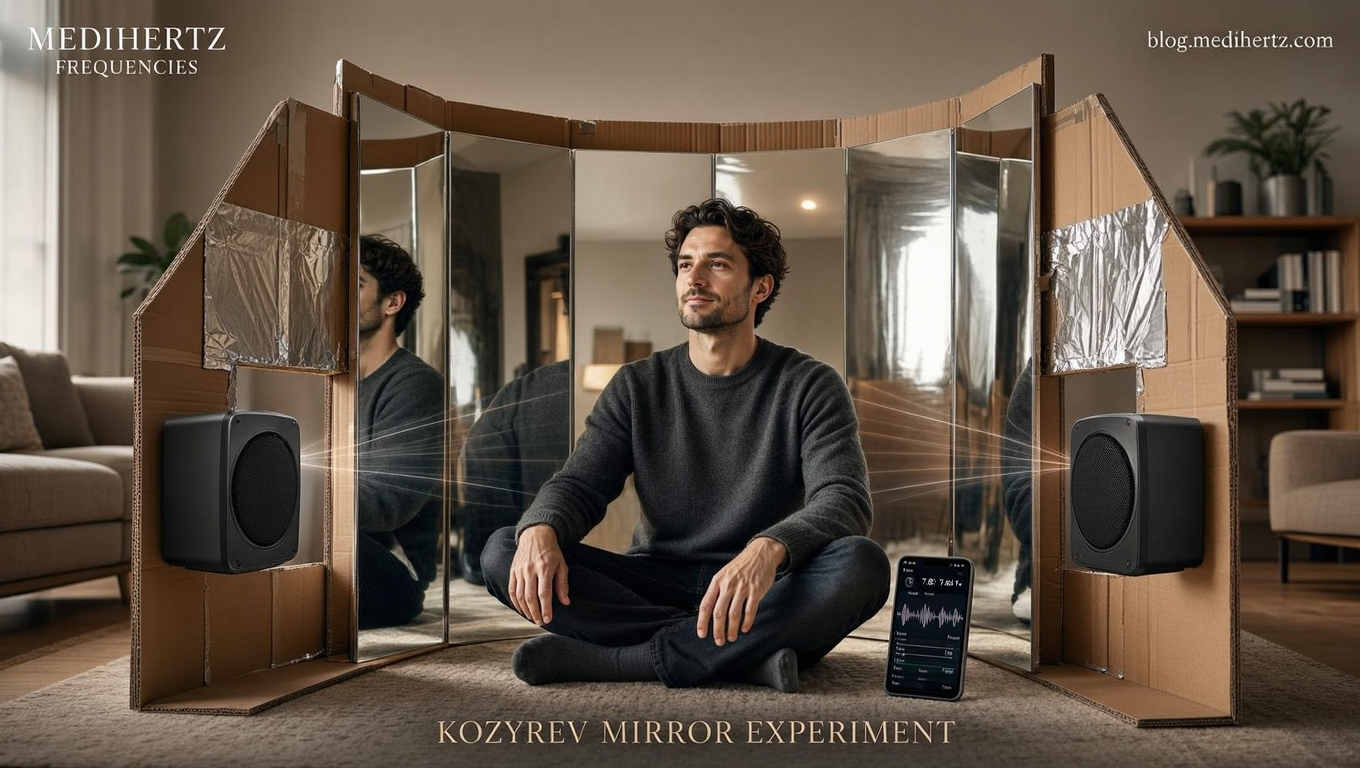
With a few easily available materials—ordinary mirrors, cardboard, aluminium foil and two speakers—you can create a simple curved reflective enclosure at home and then introduce controlled sound frequencies into the setup.
The goal isn’t to prove extraordinary claims about time, consciousness or the future. Instead, think of this as an observation experiment: create a controlled environment, introduce different sounds, sit at the center and carefully record what you experience.
ROOM ENERGY RESET
Change the vibration around you. Change how your space feels.

1. What You Need
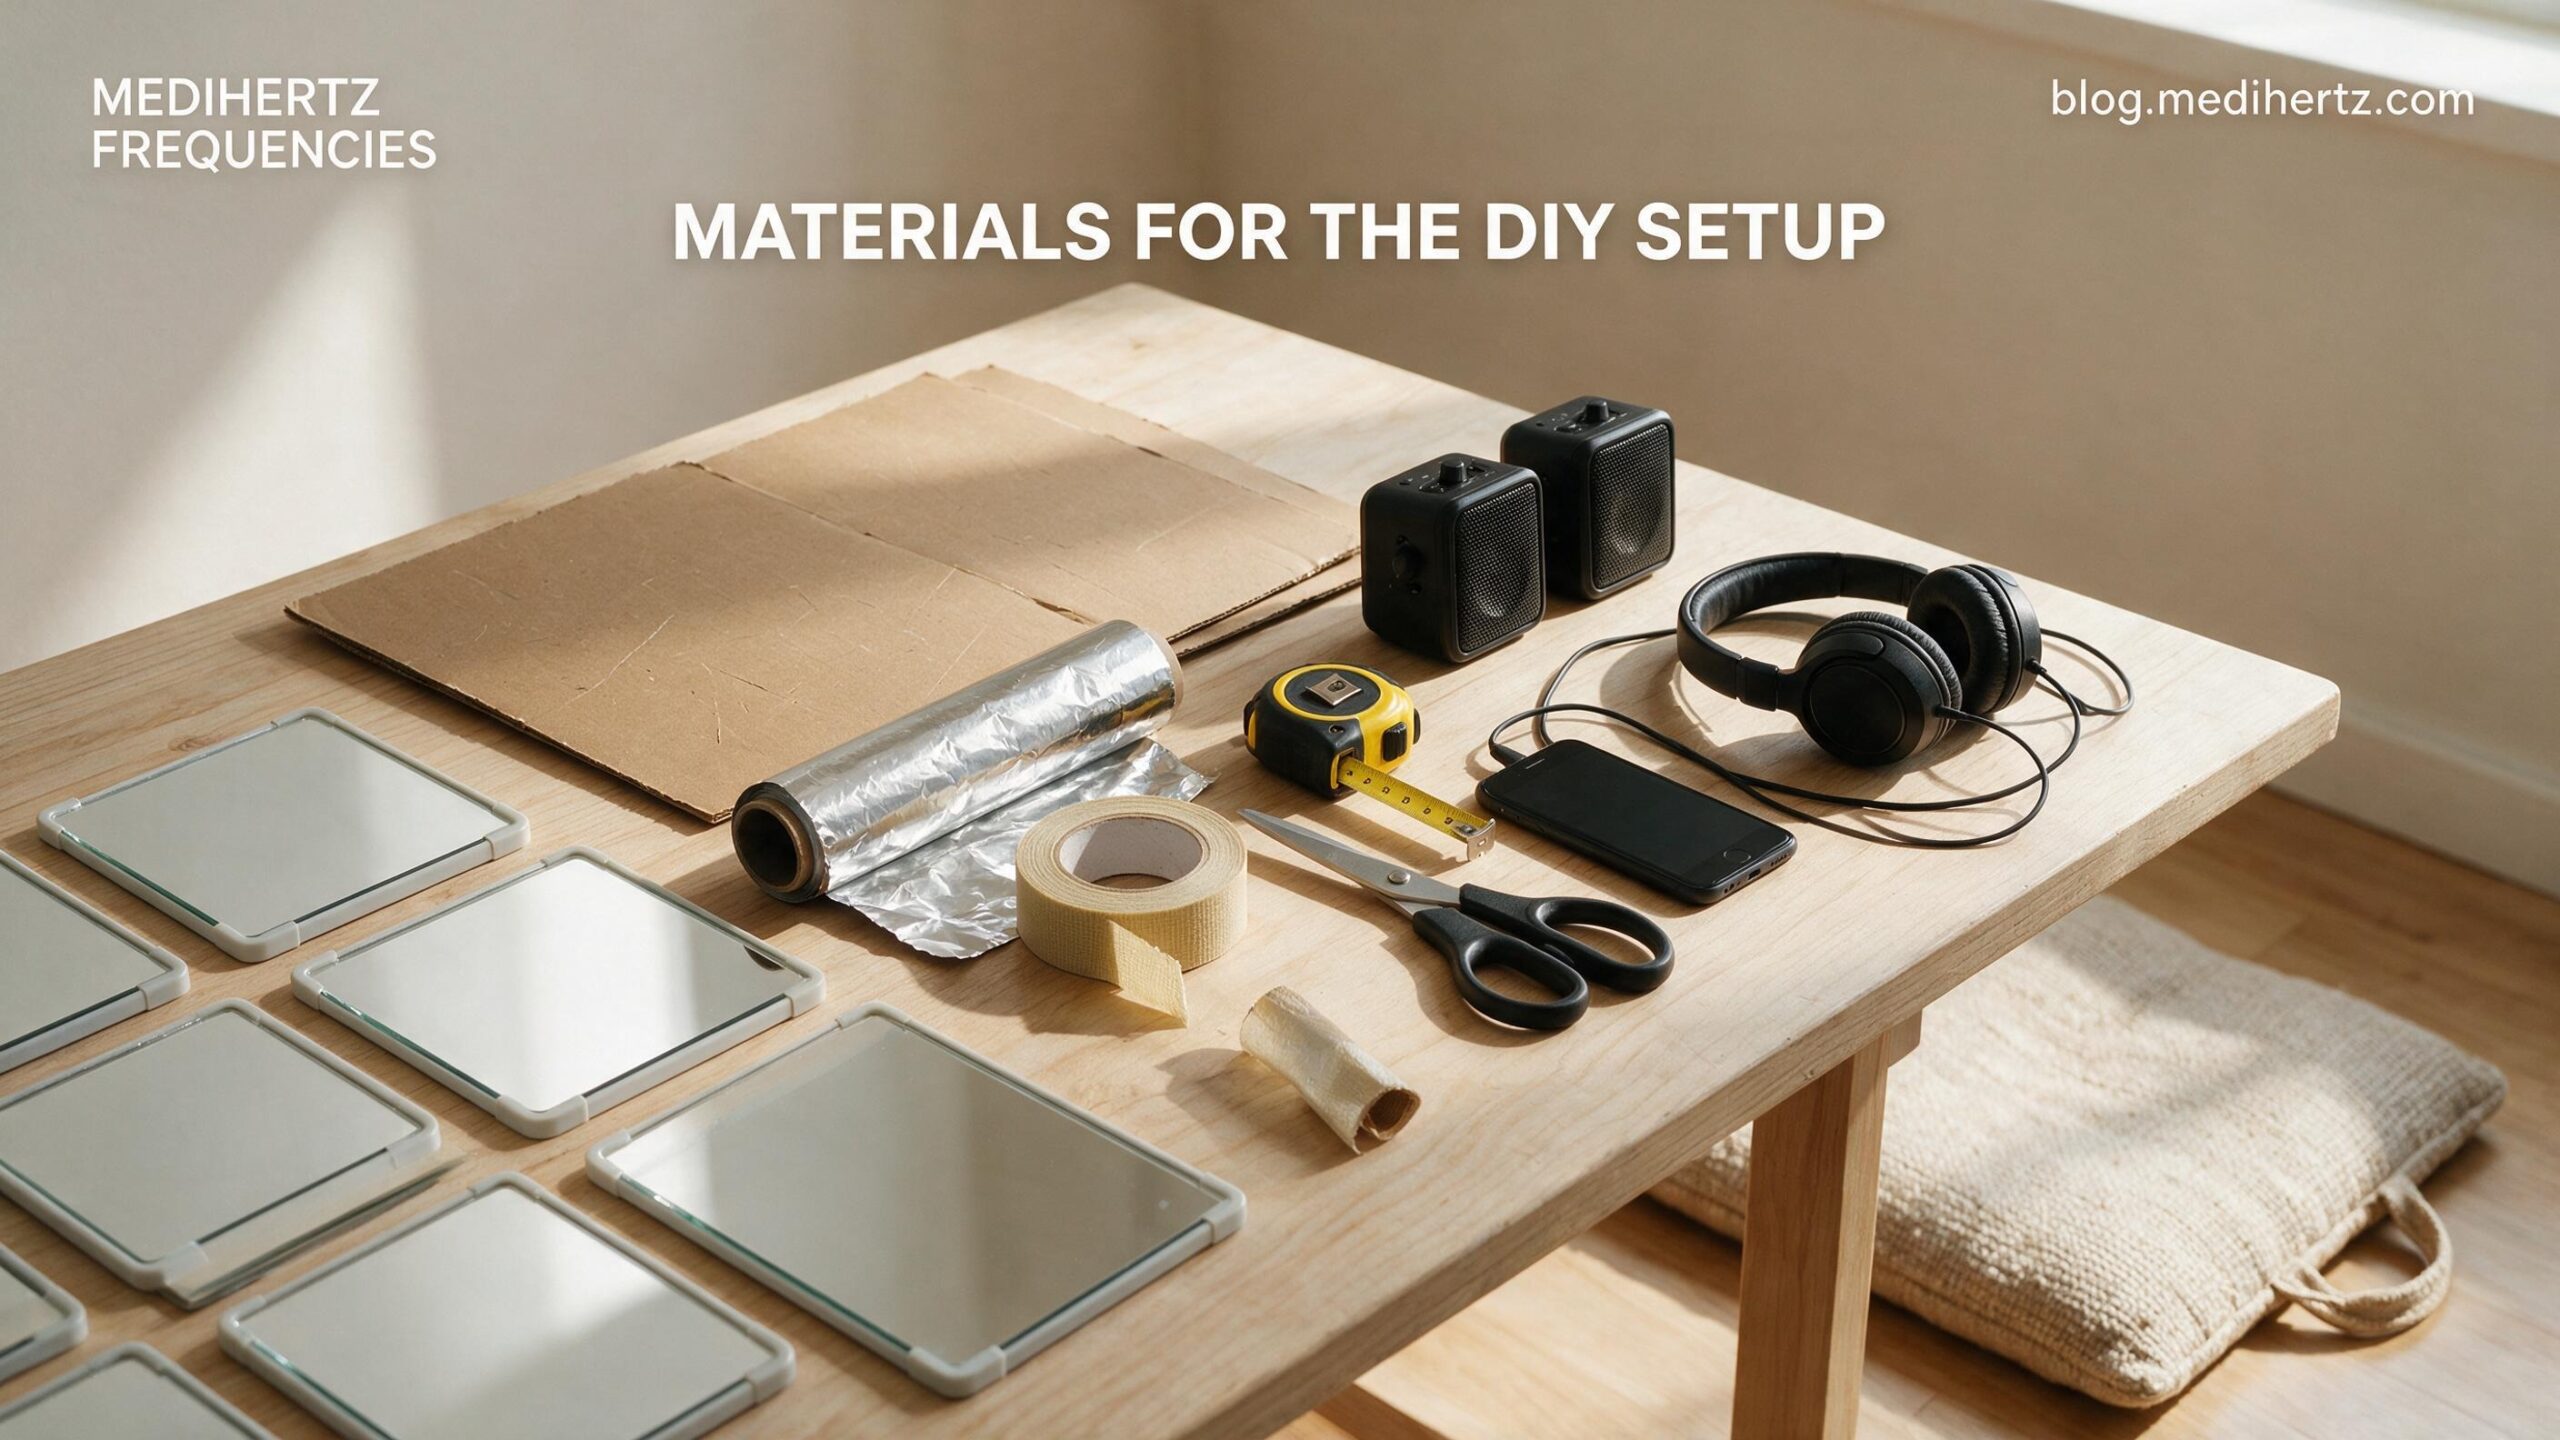
You can build a basic version using materials available from a hardware, home-improvement or general market.
Basic materials
- 4–8 lightweight household mirrors
- Large pieces of cardboard
- Aluminium foil
- Strong tape
- Scissors or a utility knife
- Measuring tape
- Two small speakers
- Smartphone, tablet or laptop
- Headphones or earphones for comparison experiments
- A comfortable chair or floor cushion
You don’t need specialized scientific mirrors.

Ordinary flat household mirrors or Aluminium foil are sufficient for this simplified experiment.
If mirrors are expensive, you can first construct and test the geometry with cardboard covered with aluminium foil. The foil provides a reflective surface while allowing you to experiment with the shape before investing in additional mirrors.
2. The Basic Idea
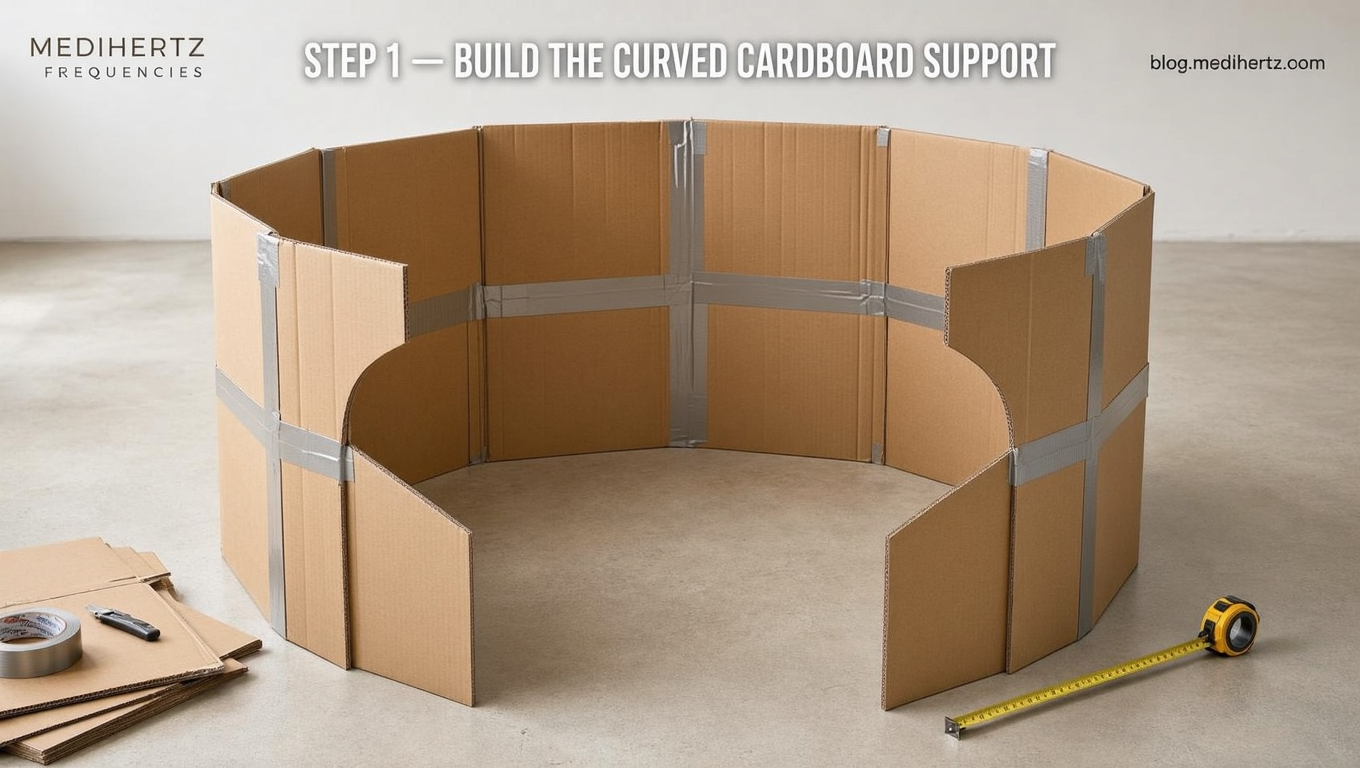
The traditional concept involves a person sitting inside or near a curved arrangement of reflective surfaces.
For a simple home experiment, imagine creating a long curved or partially cylindrical enclosure around the person.
The important part is not creating a perfect laboratory replica.
Instead, create a symmetrical reflective environment in which the participant sits approximately in the middle.
A simple arrangement can look like this:
Mirror / reflective surface → participant ← reflective surface / mirror
The curved surfaces should face toward the center.
This creates the basic experimental environment in which you can compare:
- normal room conditions
- reflective enclosure conditions
- different sound frequencies
- silence
- noise
- music
- binaural beats
3. Build the Reflective Structure
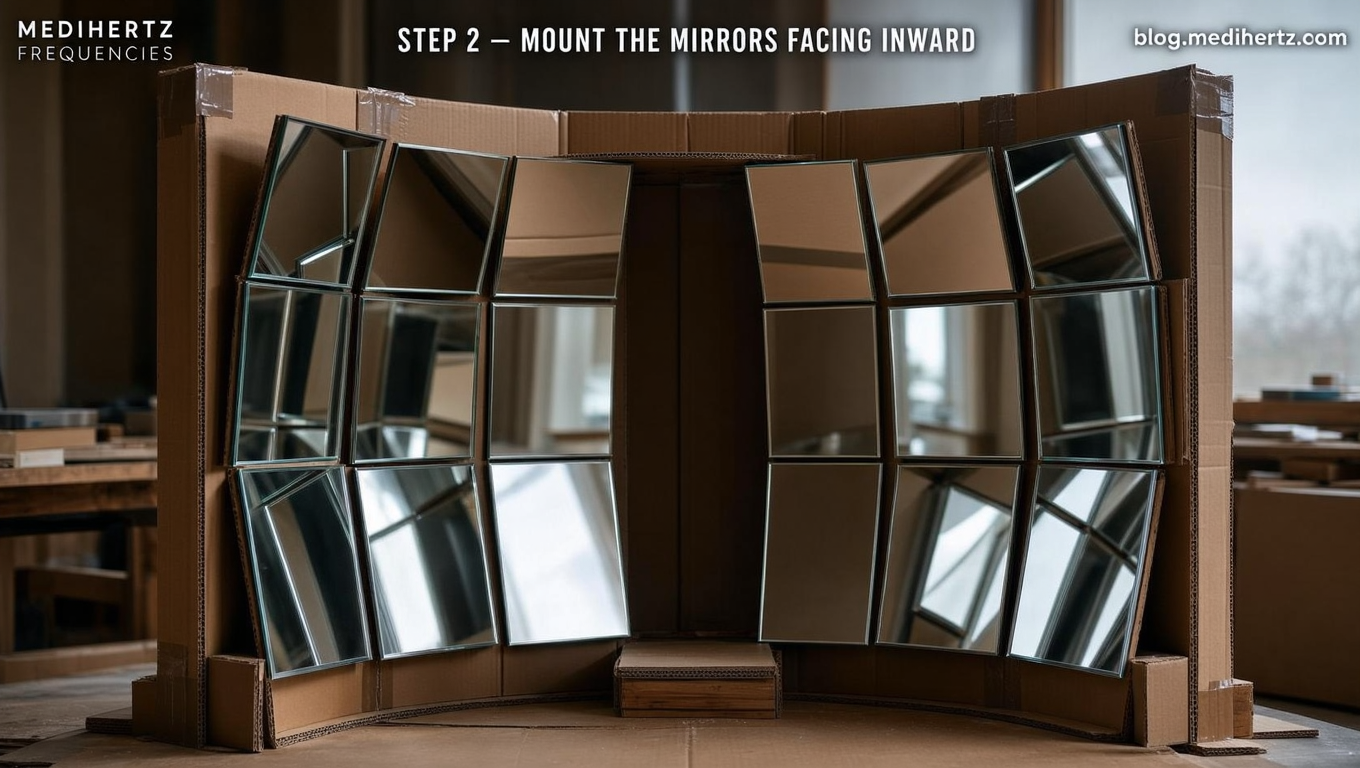
Step 1 — Create the support
Use large pieces of cardboard to create two curved side structures.
You can connect several cardboard panels together using tape so that they form a gentle curve rather than a flat wall.
Think of creating something similar to:
       CURVED REFLECTIVE SURFACE
      /                       \
     /                         \
    /                           \
   |          PERSON             |
   |            ●                |
    \                           /
     \                         /
      \_______________________/
The person should be positioned approximately in the center.
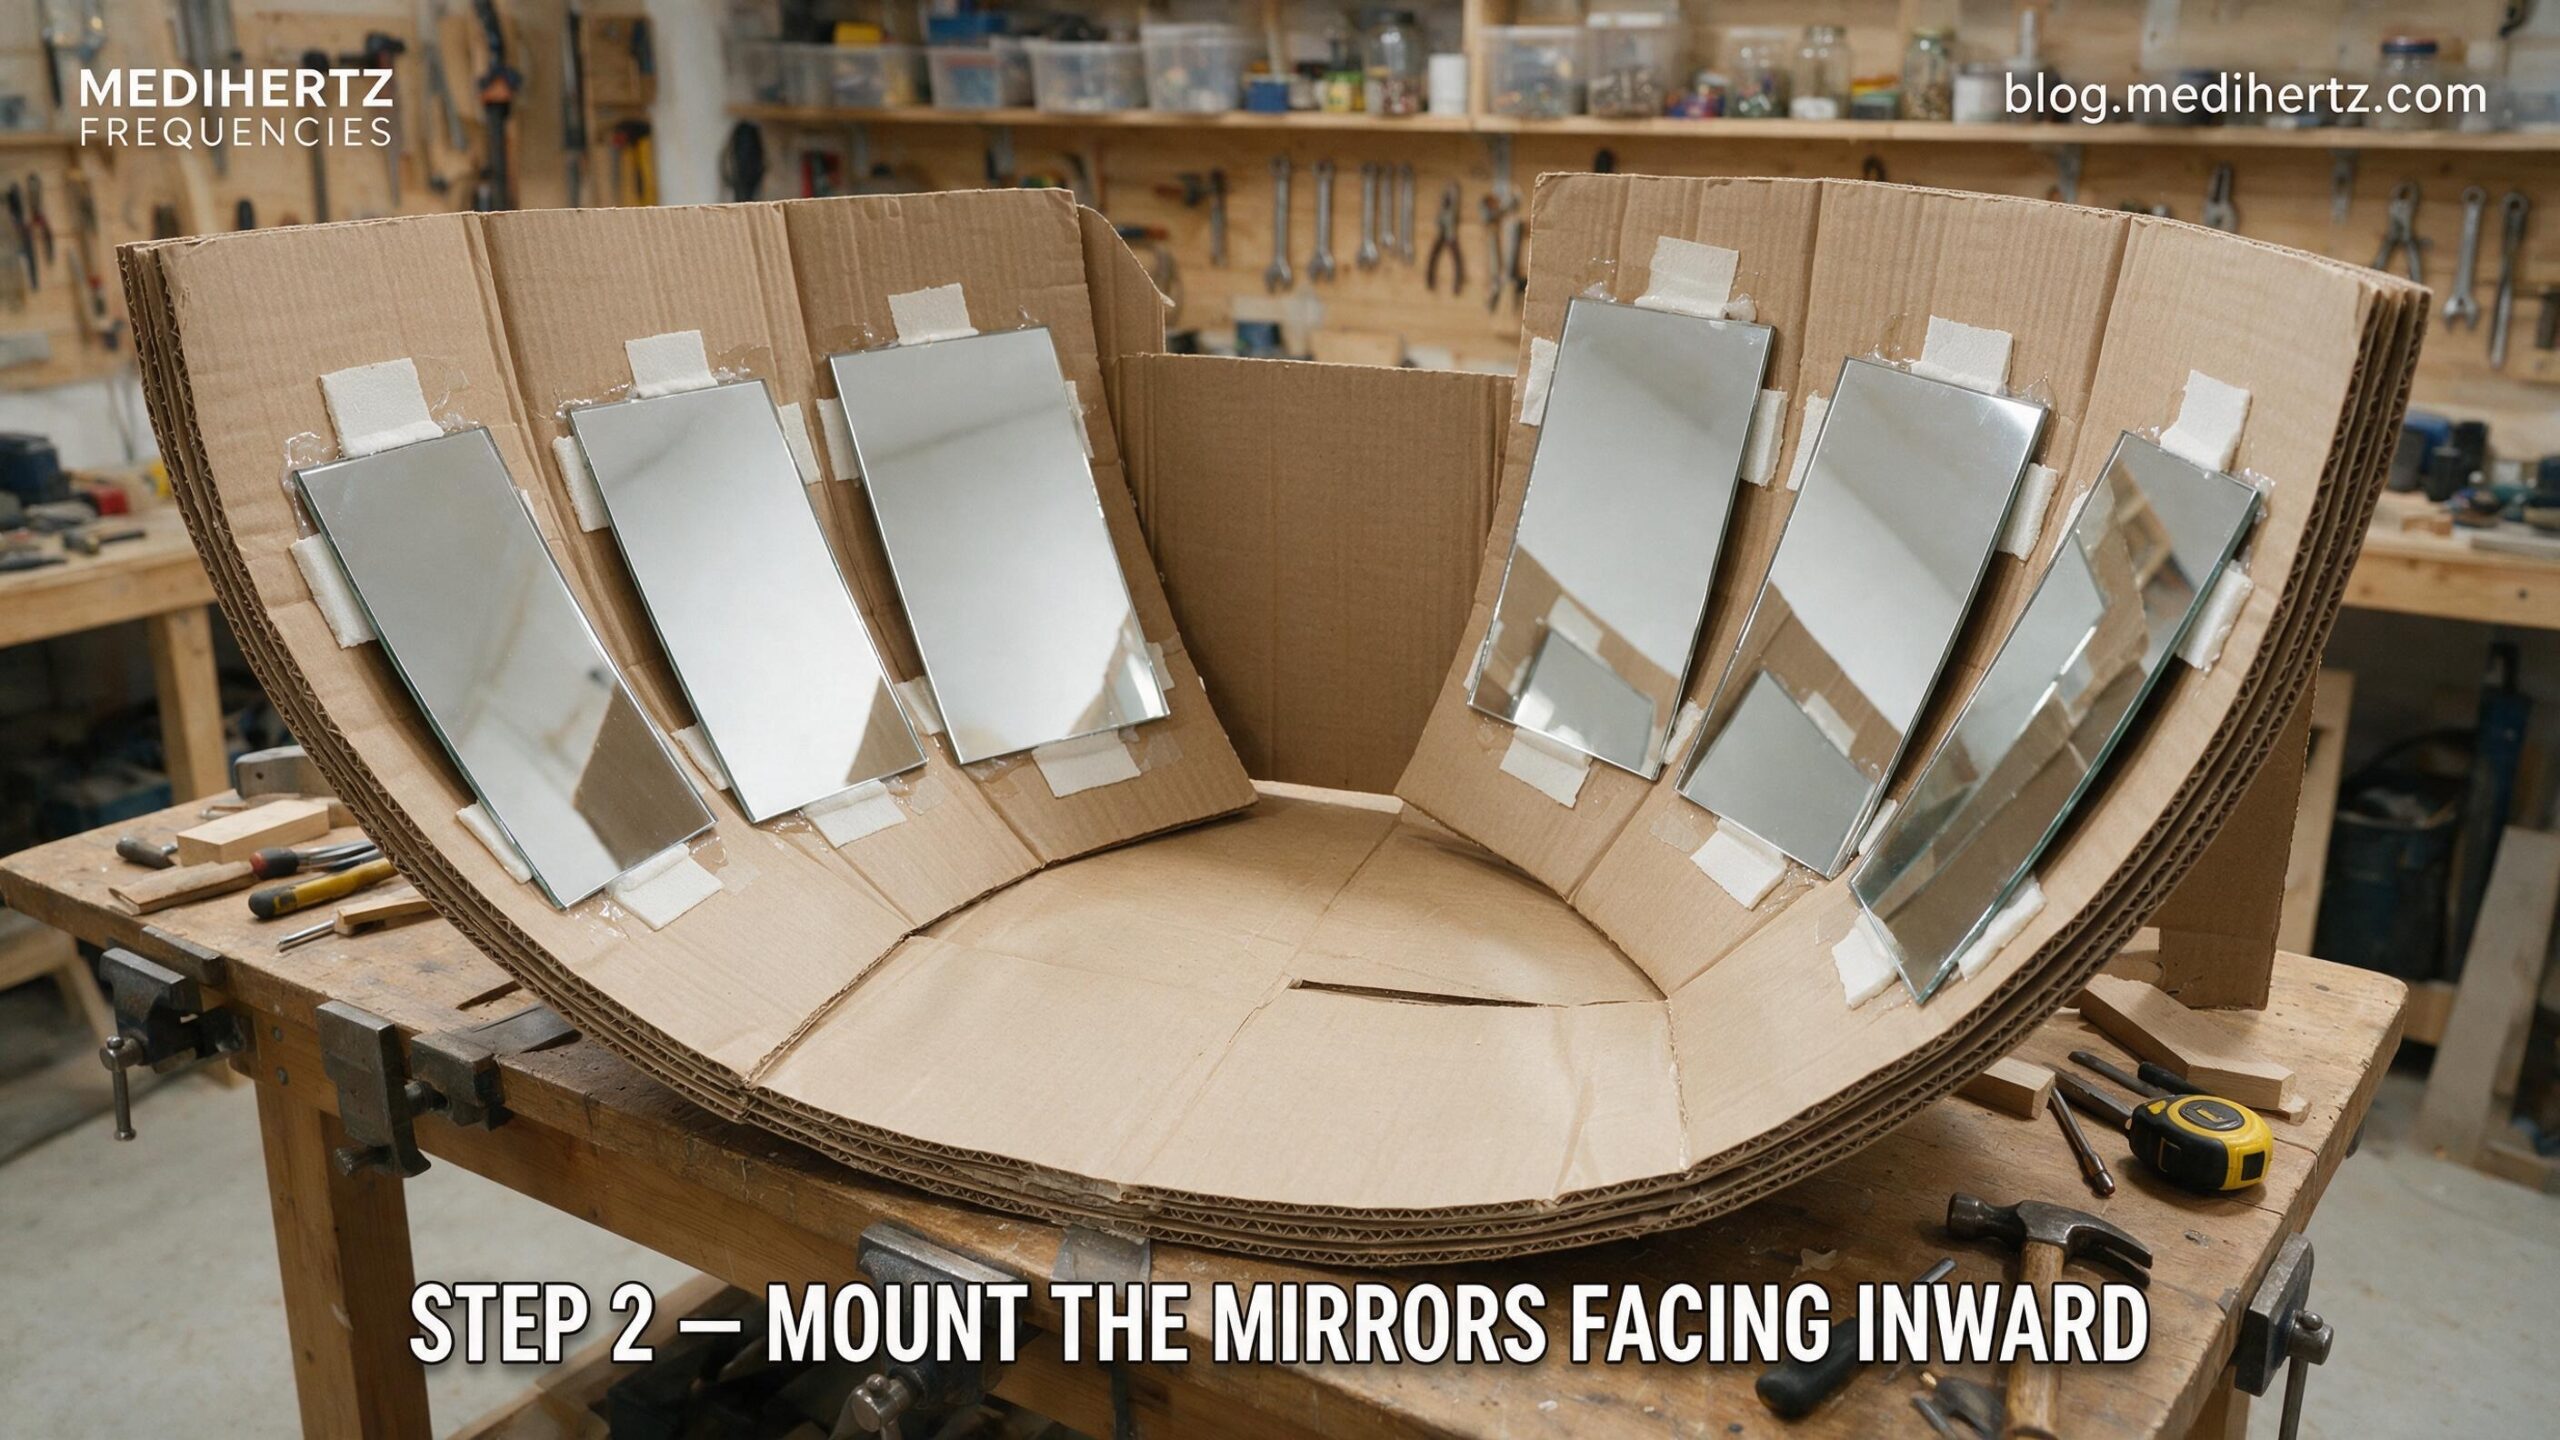
Step 2 — Add the reflective surface
If you have ordinary mirrors, attach them securely to the cardboard structure.
If you want a cheaper prototype, cover the cardboard with aluminium foil.
Keep the reflective material as smooth as possible.
Step 3 — Create two openings
Leave an opening on the left side and another on the right side.
These openings will be useful for the sound experiment.
The basic arrangement becomes:
        REFLECTIVE CURVED SURFACE

             \           /
              \         /
 LEFT SOUND →   \   ●   /   ← RIGHT SOUND
 SPEAKER         \     /       SPEAKER
                  \___/
The participant sits between the two sound sources.
4. Position the Two Speakers
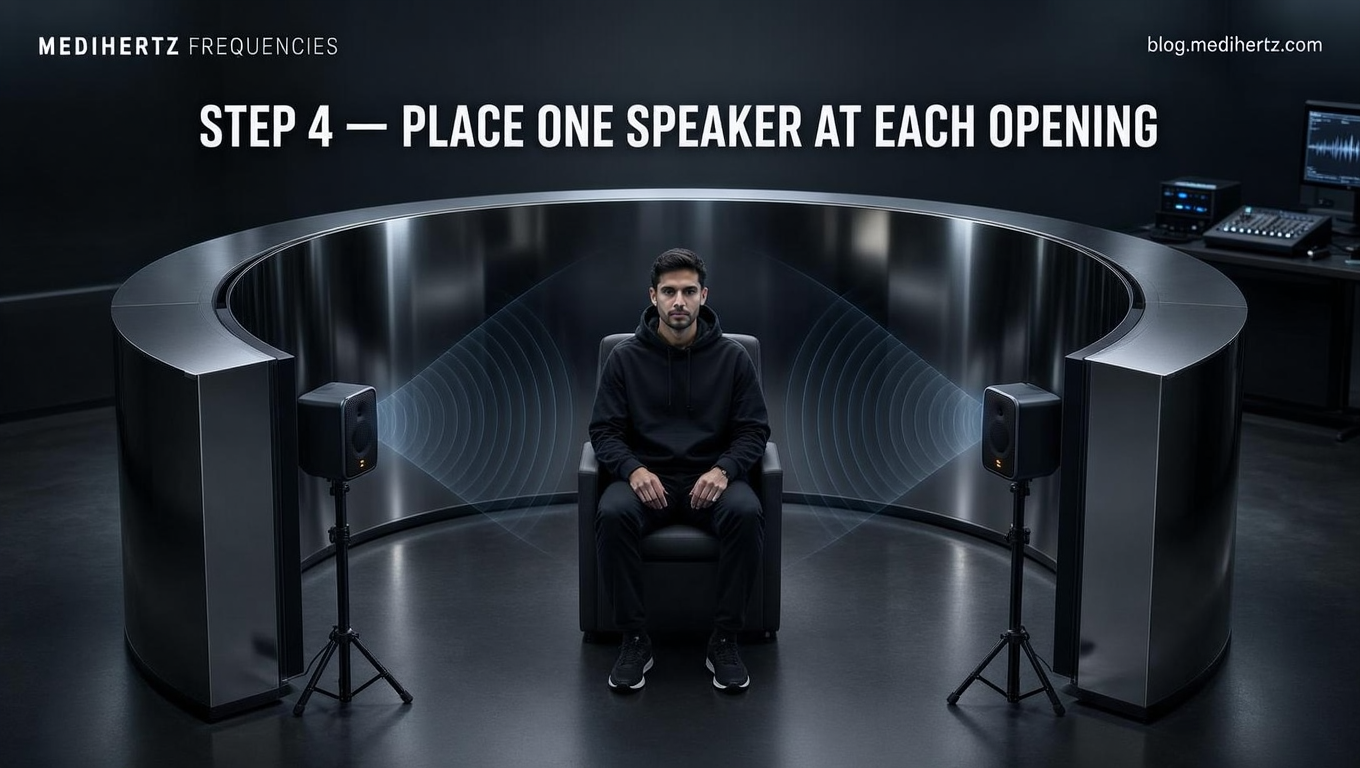
This is where the experiment becomes more interesting.
Place one speaker at the left opening and another at the right opening.
Both speakers should point toward the center where the participant is sitting.
The idea is to introduce sound from both sides rather than simply playing a sound directly beside the participant.
Important
Keep the volume comfortable.
This is not a test of how loud a sound can become.
You are interested in comparing different frequencies and sound patterns—not exposing yourself to excessive sound pressure.
5. Create Your First Baseline Experiment
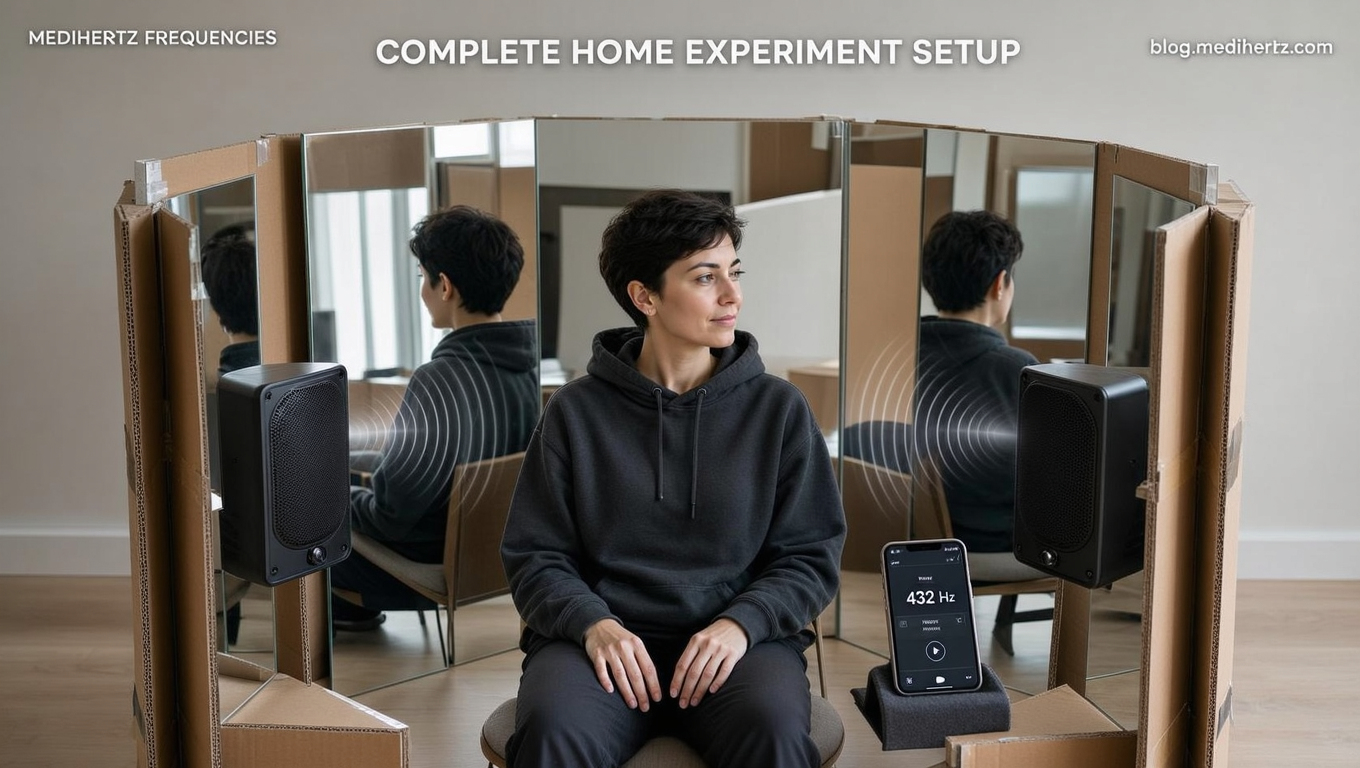
Before introducing any frequency, sit inside the setup for several minutes in relative silence.
Record:
- how you feel
- your level of relaxation
- concentration
- perceived room ambience
- body sensations
- visual impressions
- thoughts
- sense of time
Don’t try to force an unusual experience.
Simply observe.
This becomes your baseline condition.
6. Now Introduce Sound Frequencies
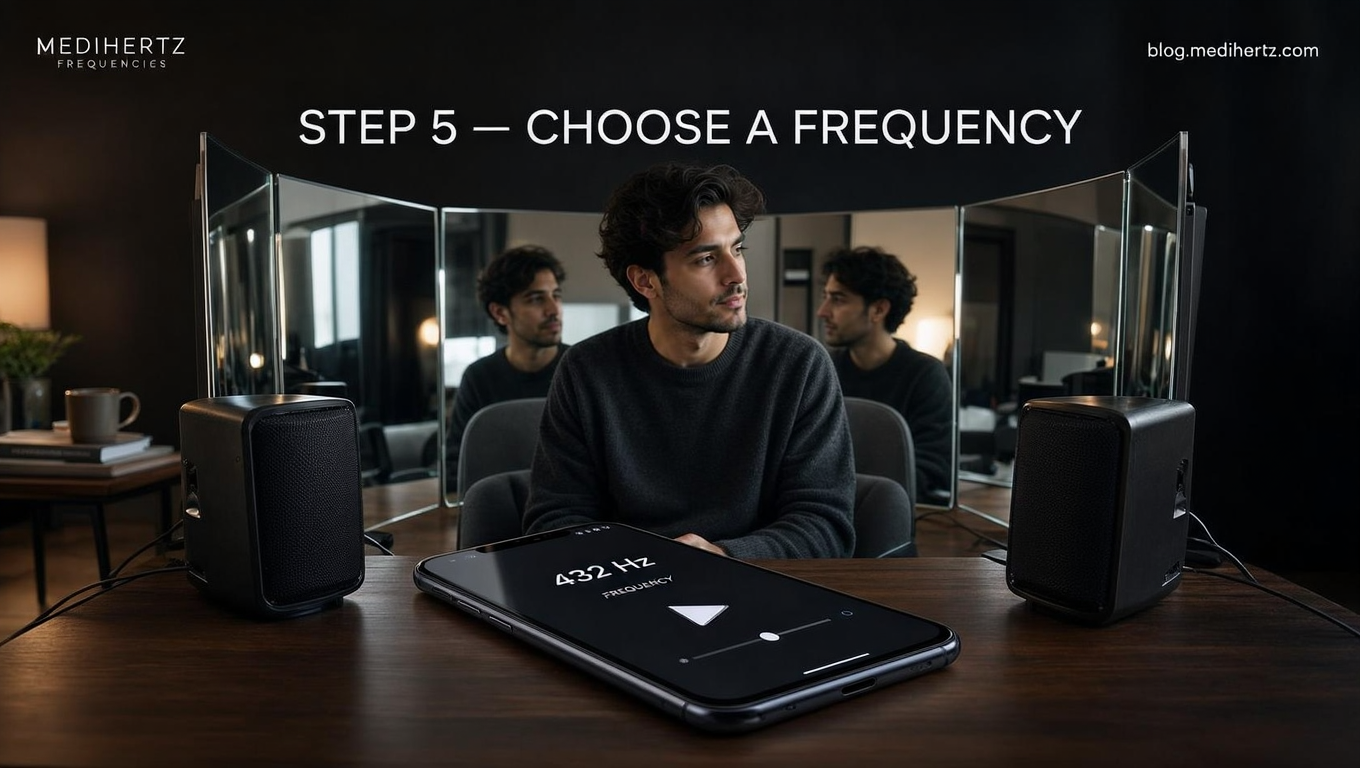
For an easy experiment, you don’t need specialized equipment.
You can use a simple frequency generator or an instant frequency listener to play individual tones.
For example, you could experiment with:
- 40 Hz
- 100 Hz
- 200 Hz
- 432 Hz
- 440 Hz
- 528 Hz
- 639 Hz
- 741 Hz
- 852 Hz
You can also compare these with:
- white noise
- pink noise
- brown noise
- nature sounds
- music
- chanting
- spoken voice
- binaural beats
The important thing is to change only one variable at a time.
7. What Happens When Sound Enters From Both Sides?
When two speakers face toward the participant from opposite sides, sound waves travel through the space and interact.
Depending on the room, speaker placement, frequency and wavelength, the sound field can contain areas of:
- constructive interference
- destructive interference
- stronger perceived sound
- weaker perceived sound
- standing-wave patterns
The exact pattern will depend heavily on the physical dimensions of the room and the frequency being played.
For this reason, you should not assume that every frequency will produce a dramatic effect at the center.
Instead, move the speakers carefully and observe how the sound changes at different positions.
The center position can become your reference point for repeated tests.
8. Experiment With Lower Frequencies
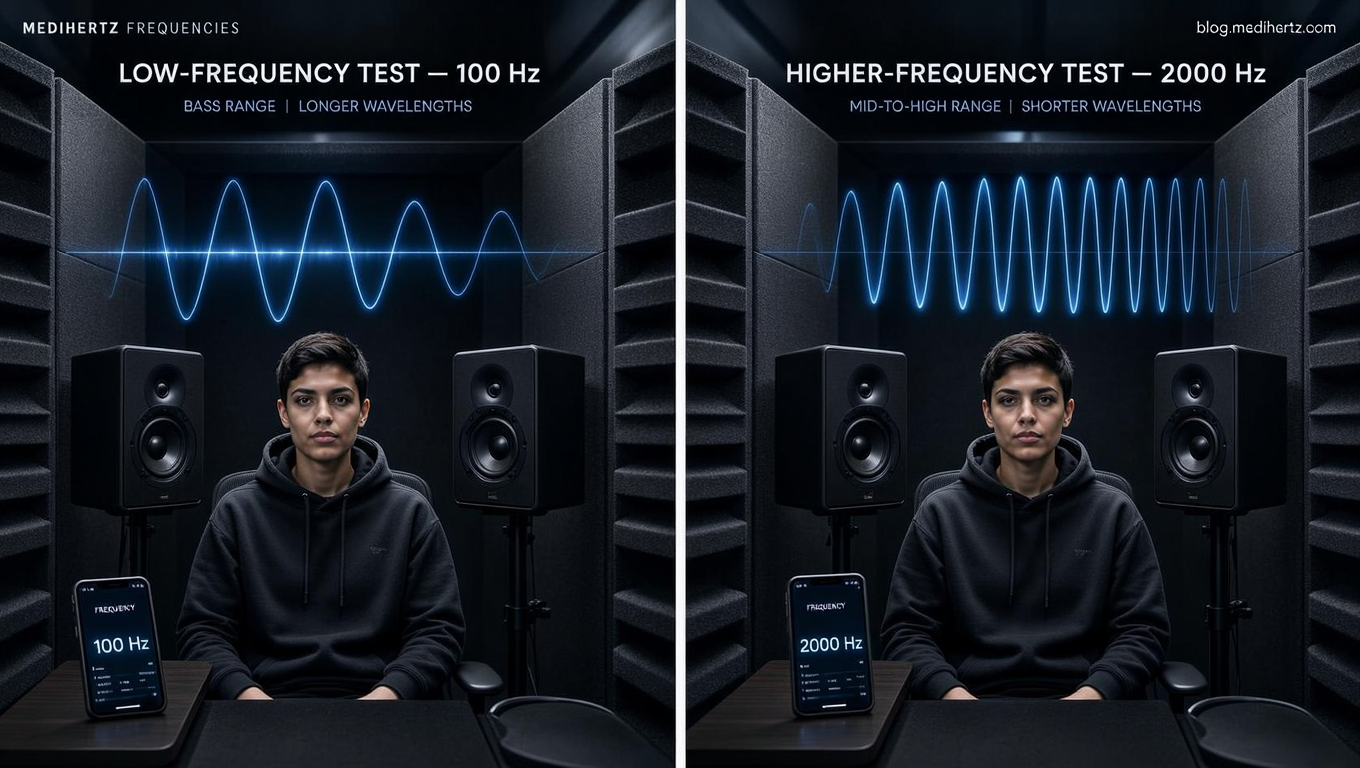
Start with relatively low audible frequencies at a comfortable volume.
For example:
40 Hz → 150 Hz → 200 Hz
Lower-frequency sounds have longer wavelengths.
As the frequency changes, the interaction between the sound waves and the physical dimensions of the room also changes.
You may notice differences in the way the sound feels or is perceived.
Some people may describe lower tones as:
- deeper
- heavier
- more physical
- more resonant
But these are subjective experiences and should not be interpreted as evidence that a particular frequency is “healing” or changing the body in a specific way.
9. Experiment With Higher Frequencies
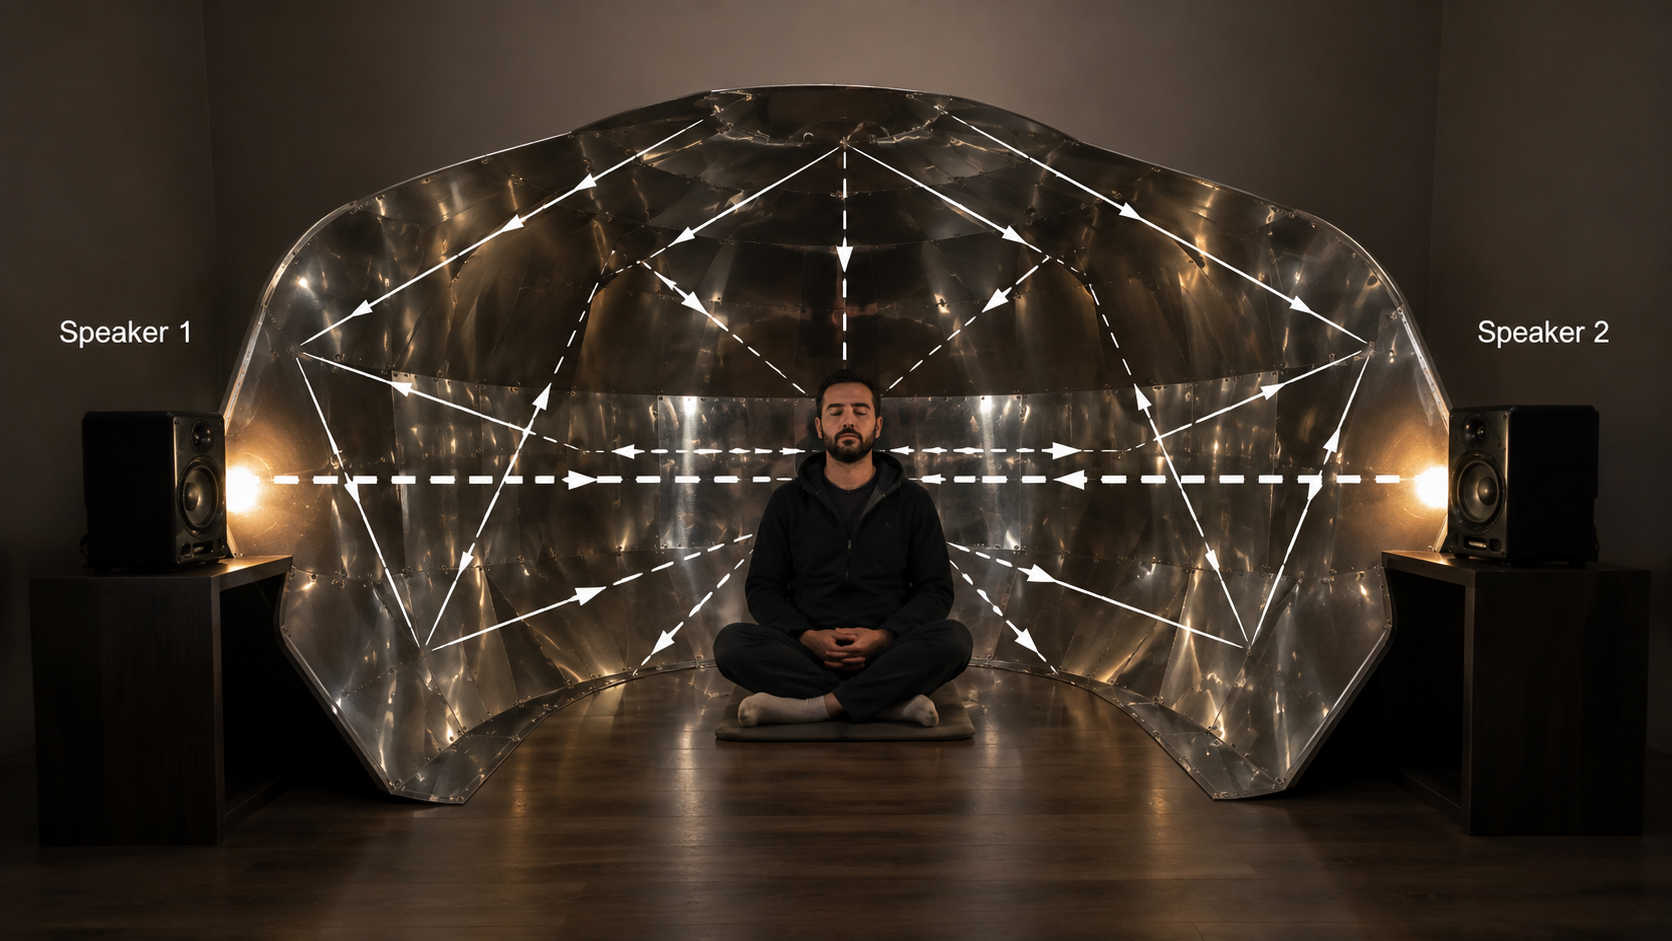
Next, try progressively higher audible tones.
For example:
1,000 Hz → 2,000 Hz → 4,000 Hz
Higher-frequency sounds have shorter wavelengths and can interact with the room differently.
You may notice that they sound:
- sharper
- brighter
- more directional
- more noticeable
Again, the experience depends on the person’s hearing, the speakers, room acoustics and listening level.
The interesting part is comparing your observations with those from the lower-frequency experiment.
10. Try Music and Complex Sounds
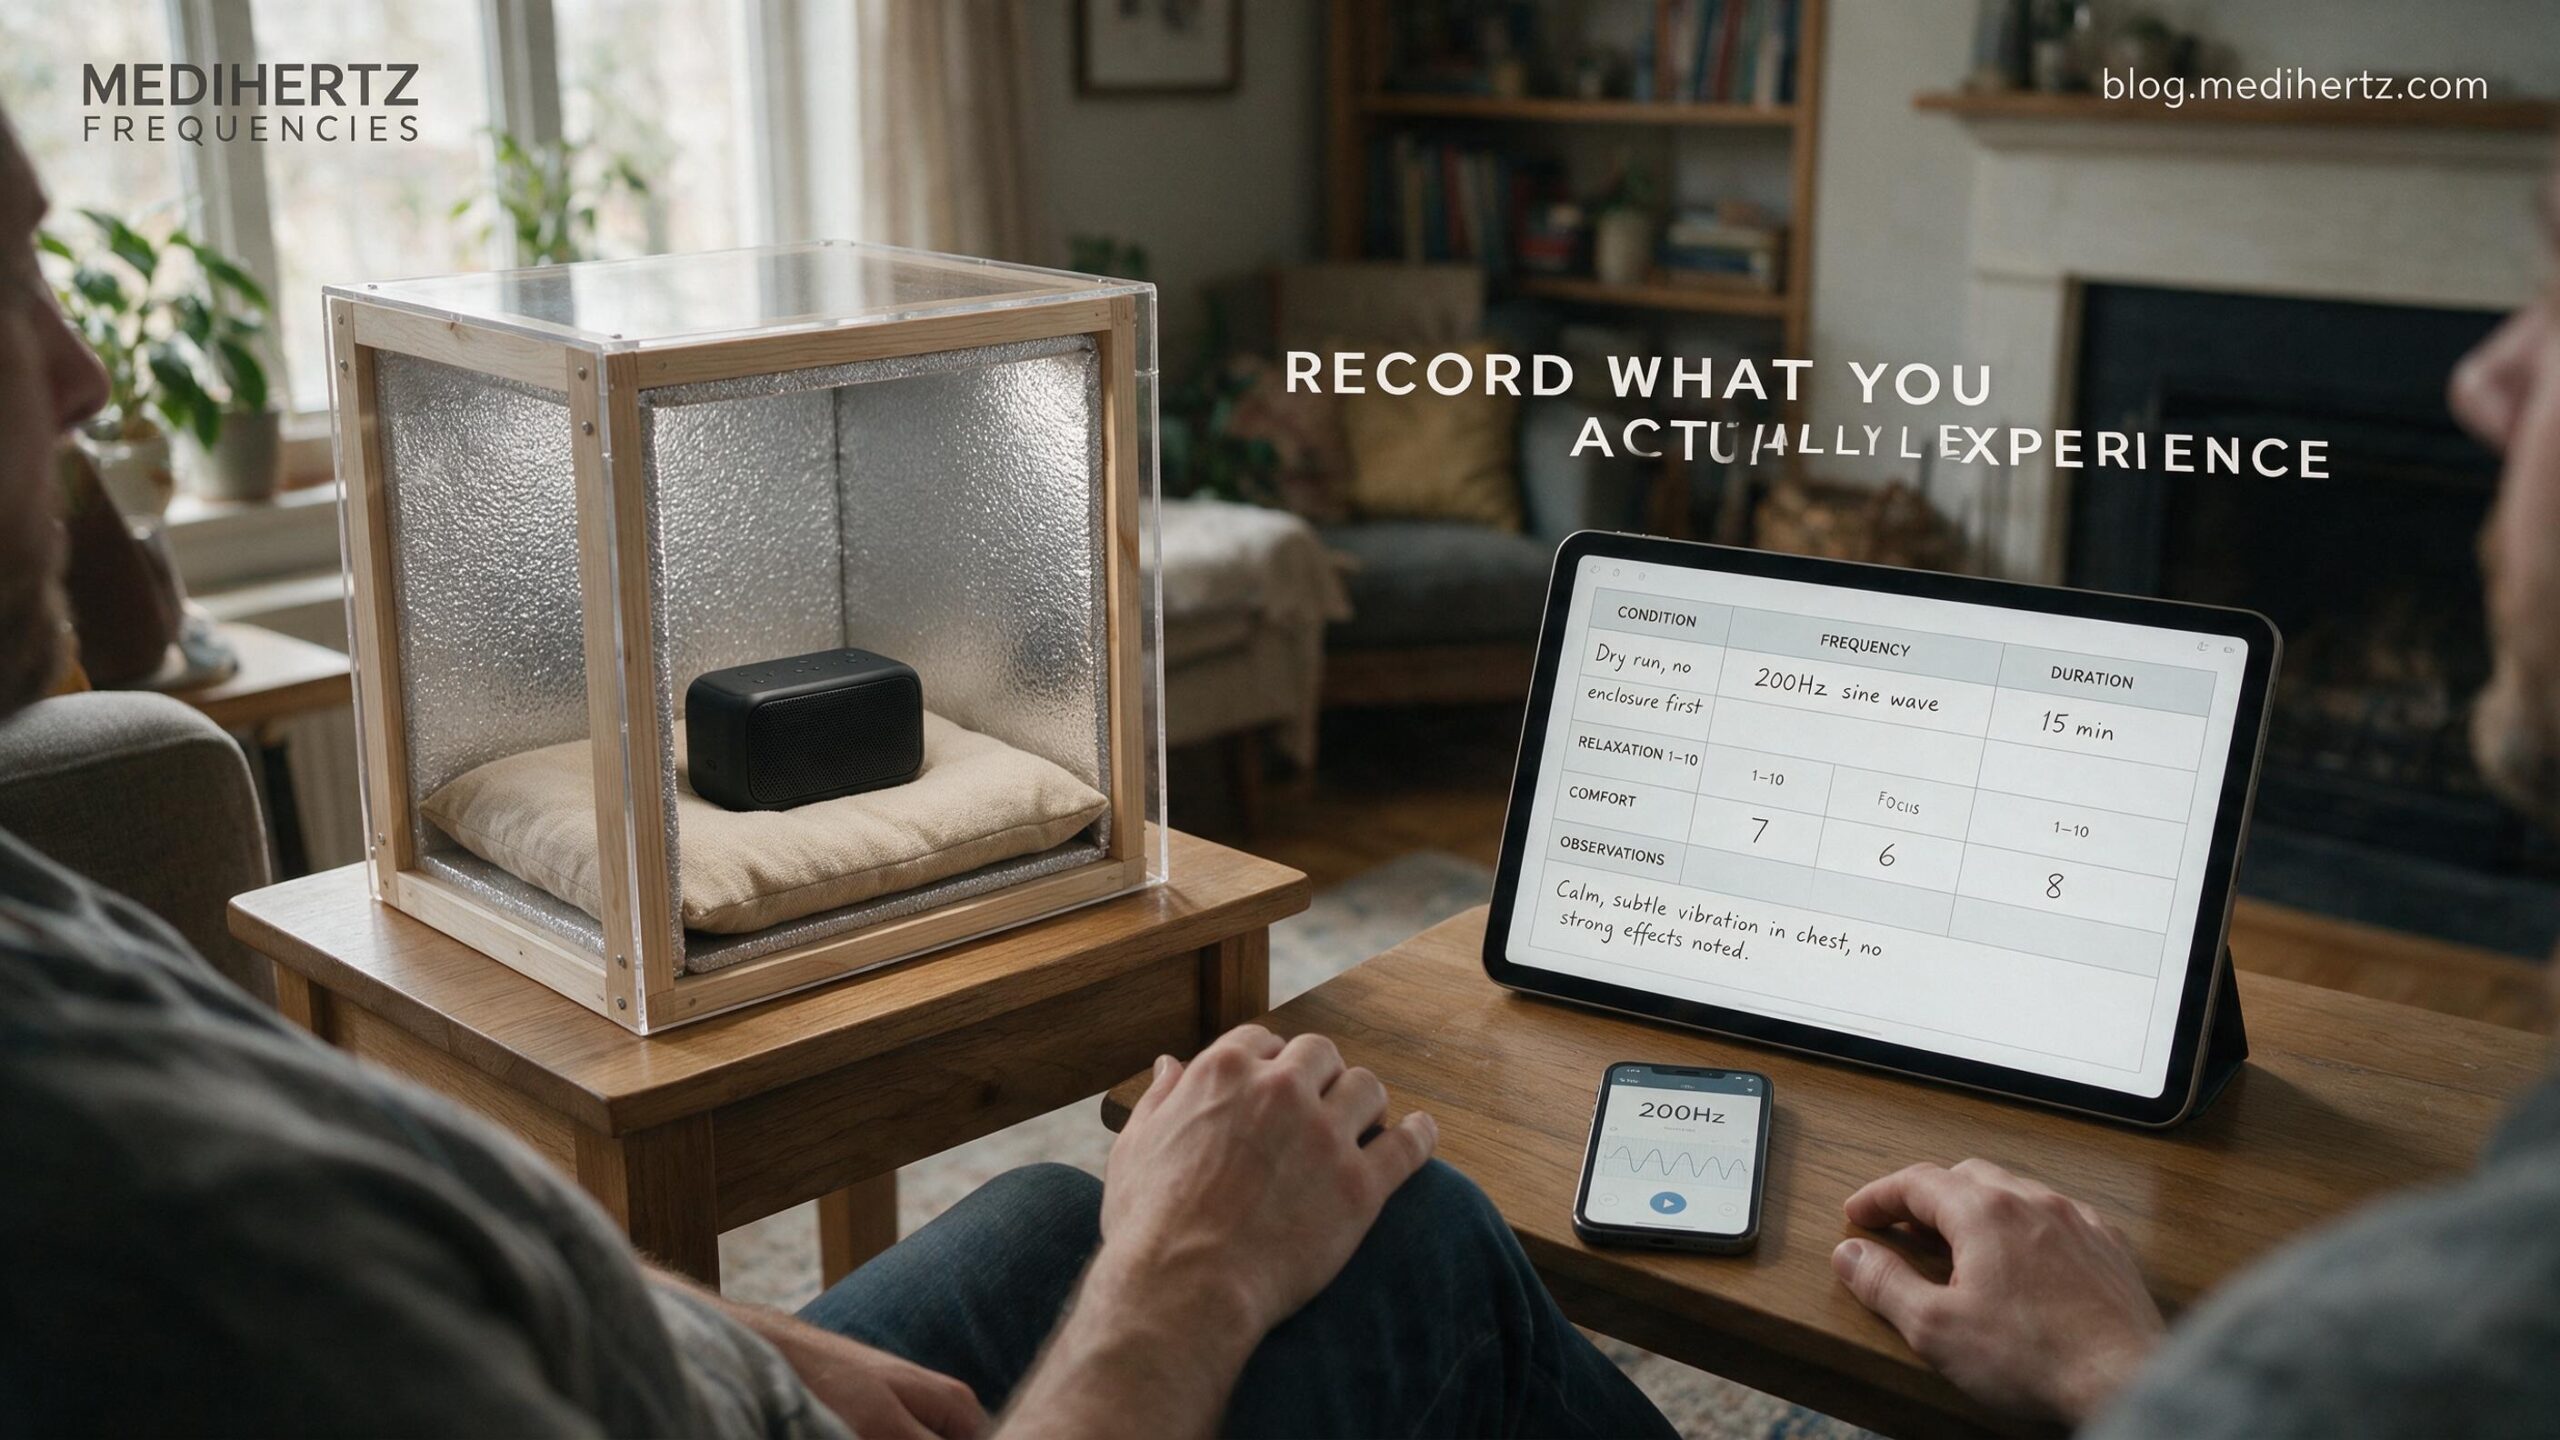
Don’t restrict the experiment to pure sine waves.
Music creates a much more complicated frequency spectrum.
Try:
Music
Play a familiar piece of music through both speakers.
Observe whether the reflective enclosure changes your perception of:
- spatial depth
- resonance
- clarity
- immersion
- rhythm
Voice
Speak into your phone or microphone.
You can experiment with words, sustained vowels or chanting.
This is especially interesting because the human voice contains many frequencies simultaneously.
Nature sounds
Try:
- rain
- ocean
- forest ambience
- flowing water
- wind
These provide a completely different acoustic environment from a pure tone.
11. Try Binaural Beats Separately
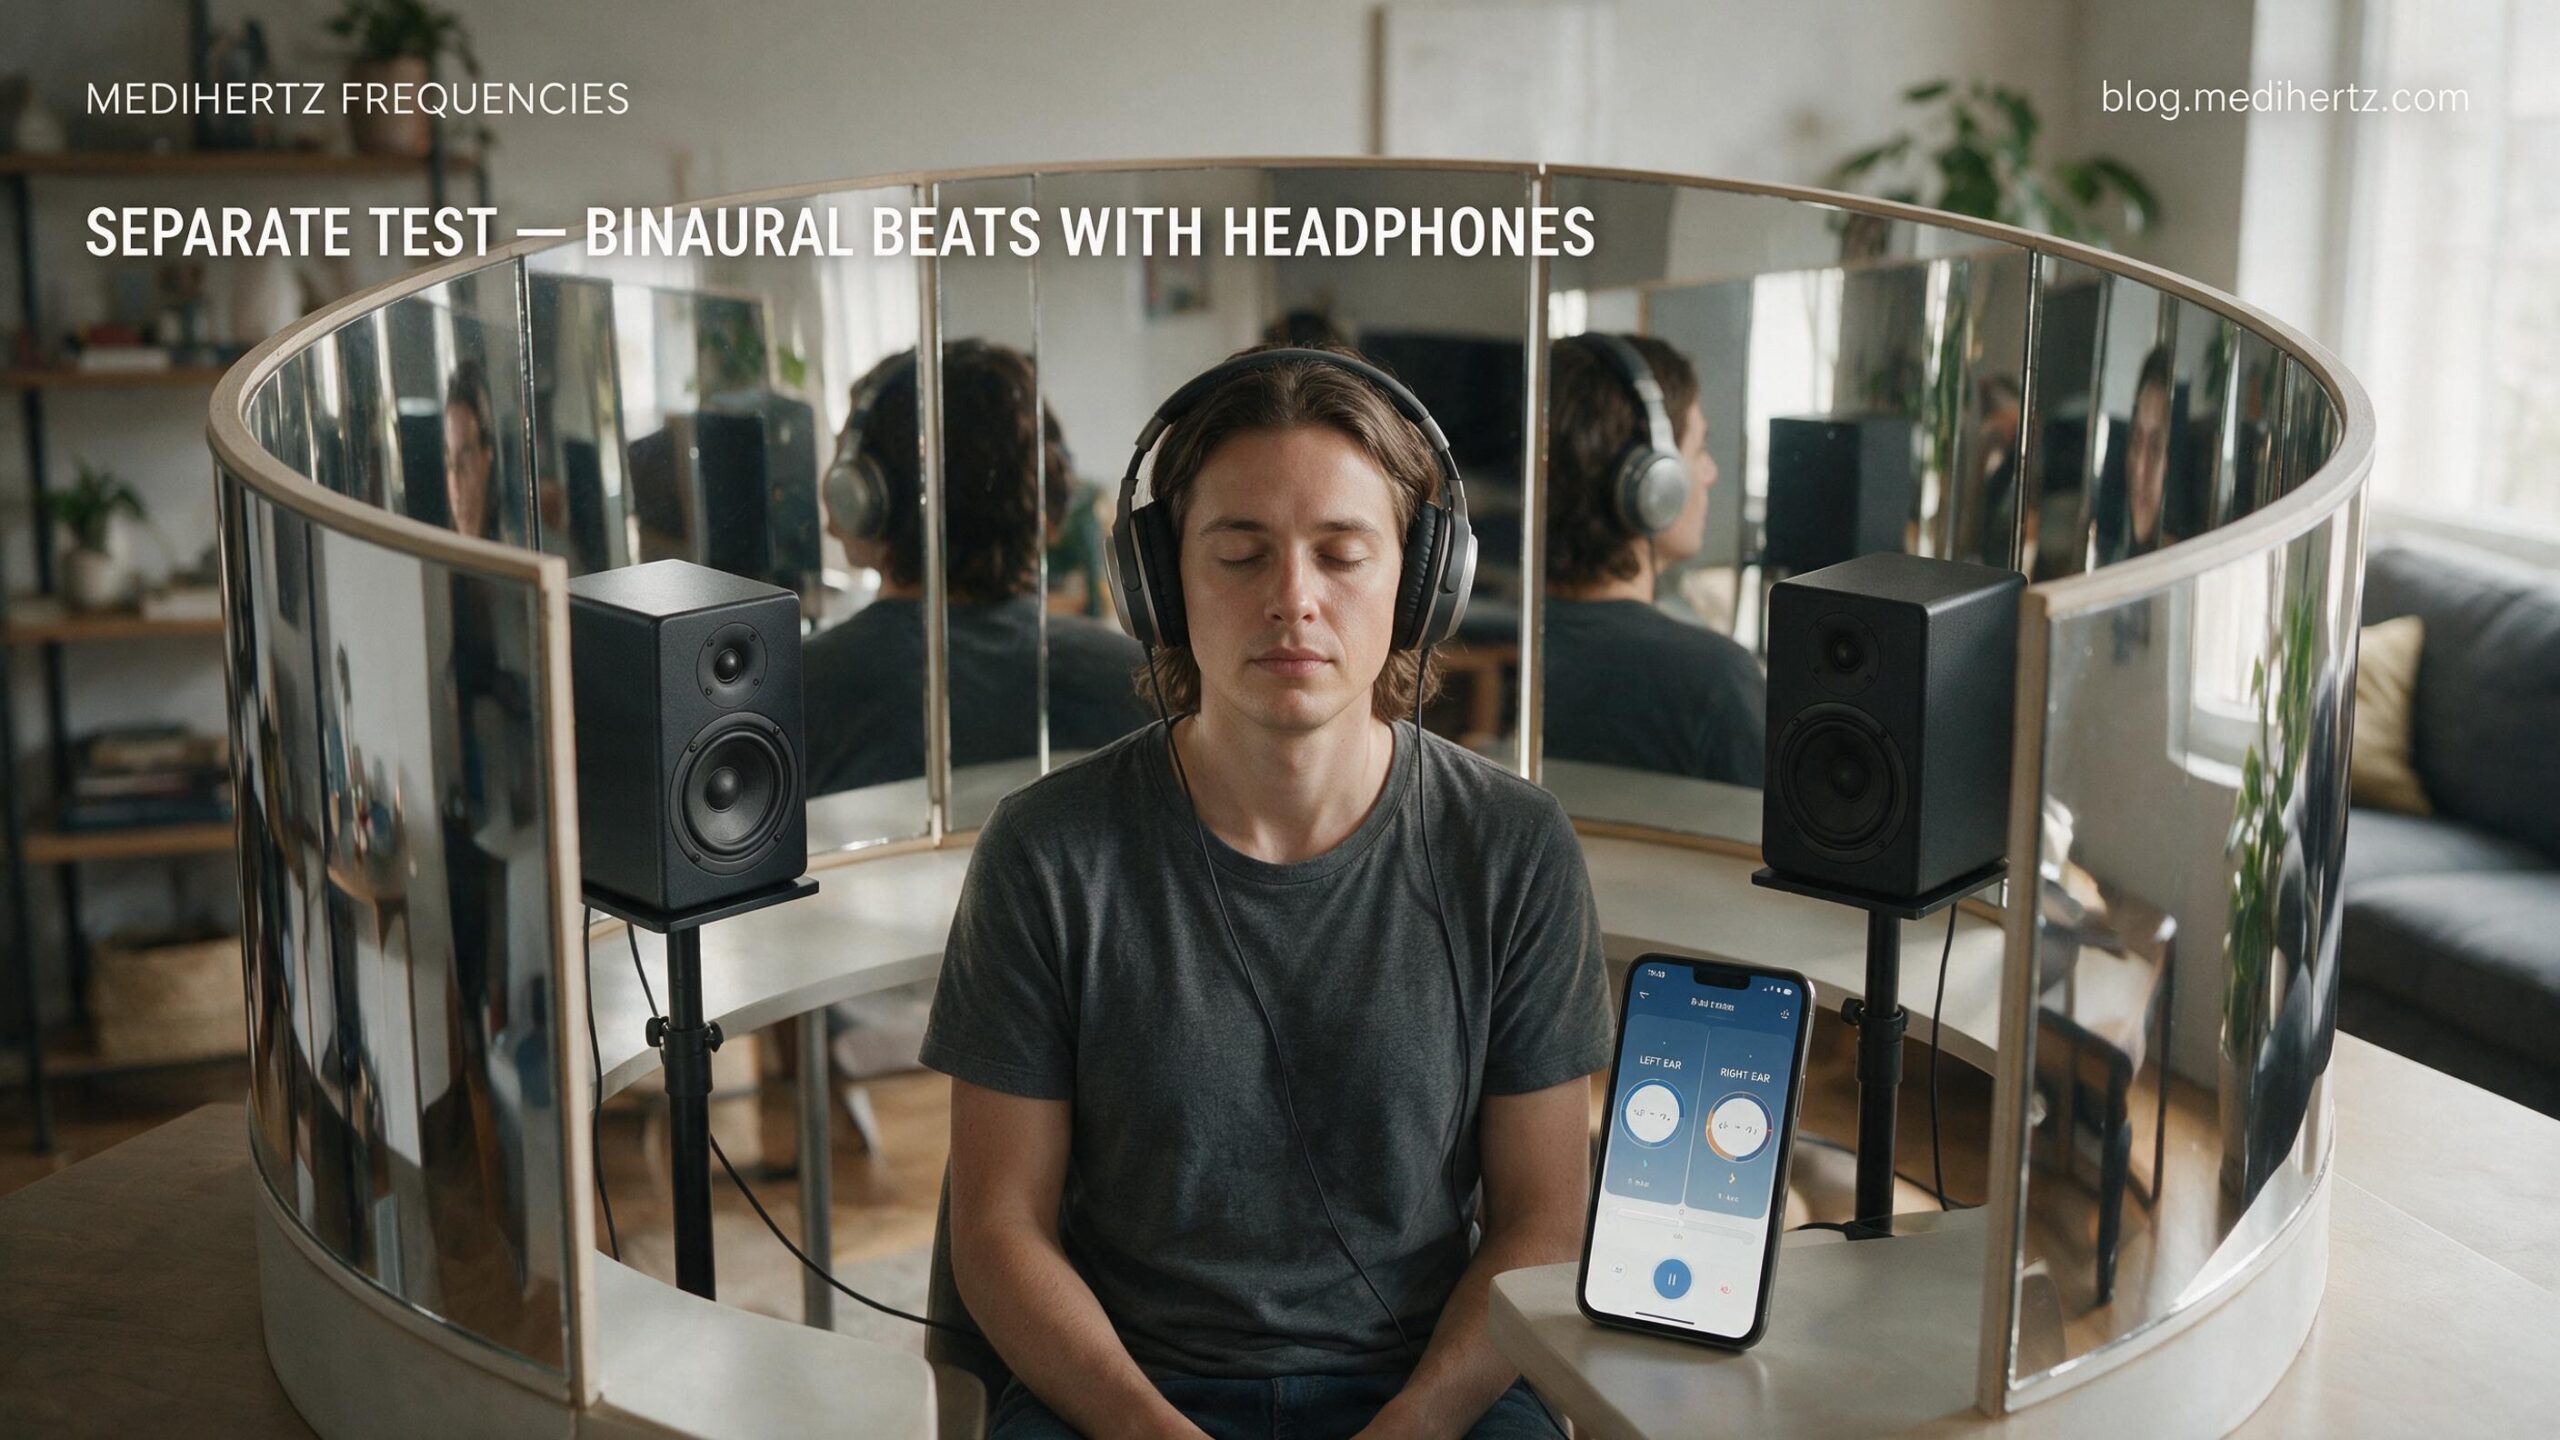
Binaural beats are different from simply playing the same frequency from two speakers.
They are generally created by presenting slightly different tones separately to the two ears.
For example:
Left ear: 400 Hz
Right ear: 410 Hz
The perceived beat difference is 10 Hz.
For a binaural-beat experiment, headphones or earphones are generally more appropriate than speakers, because each ear needs to receive its intended signal separately.
You can compare:
A. Two-speaker frequency experiment
with
B. Headphone binaural-beat experiment
while keeping the rest of your environment the same.
This gives you two very different sound experiments.
12. Compare Sound Inside and Outside the Mirror Setup
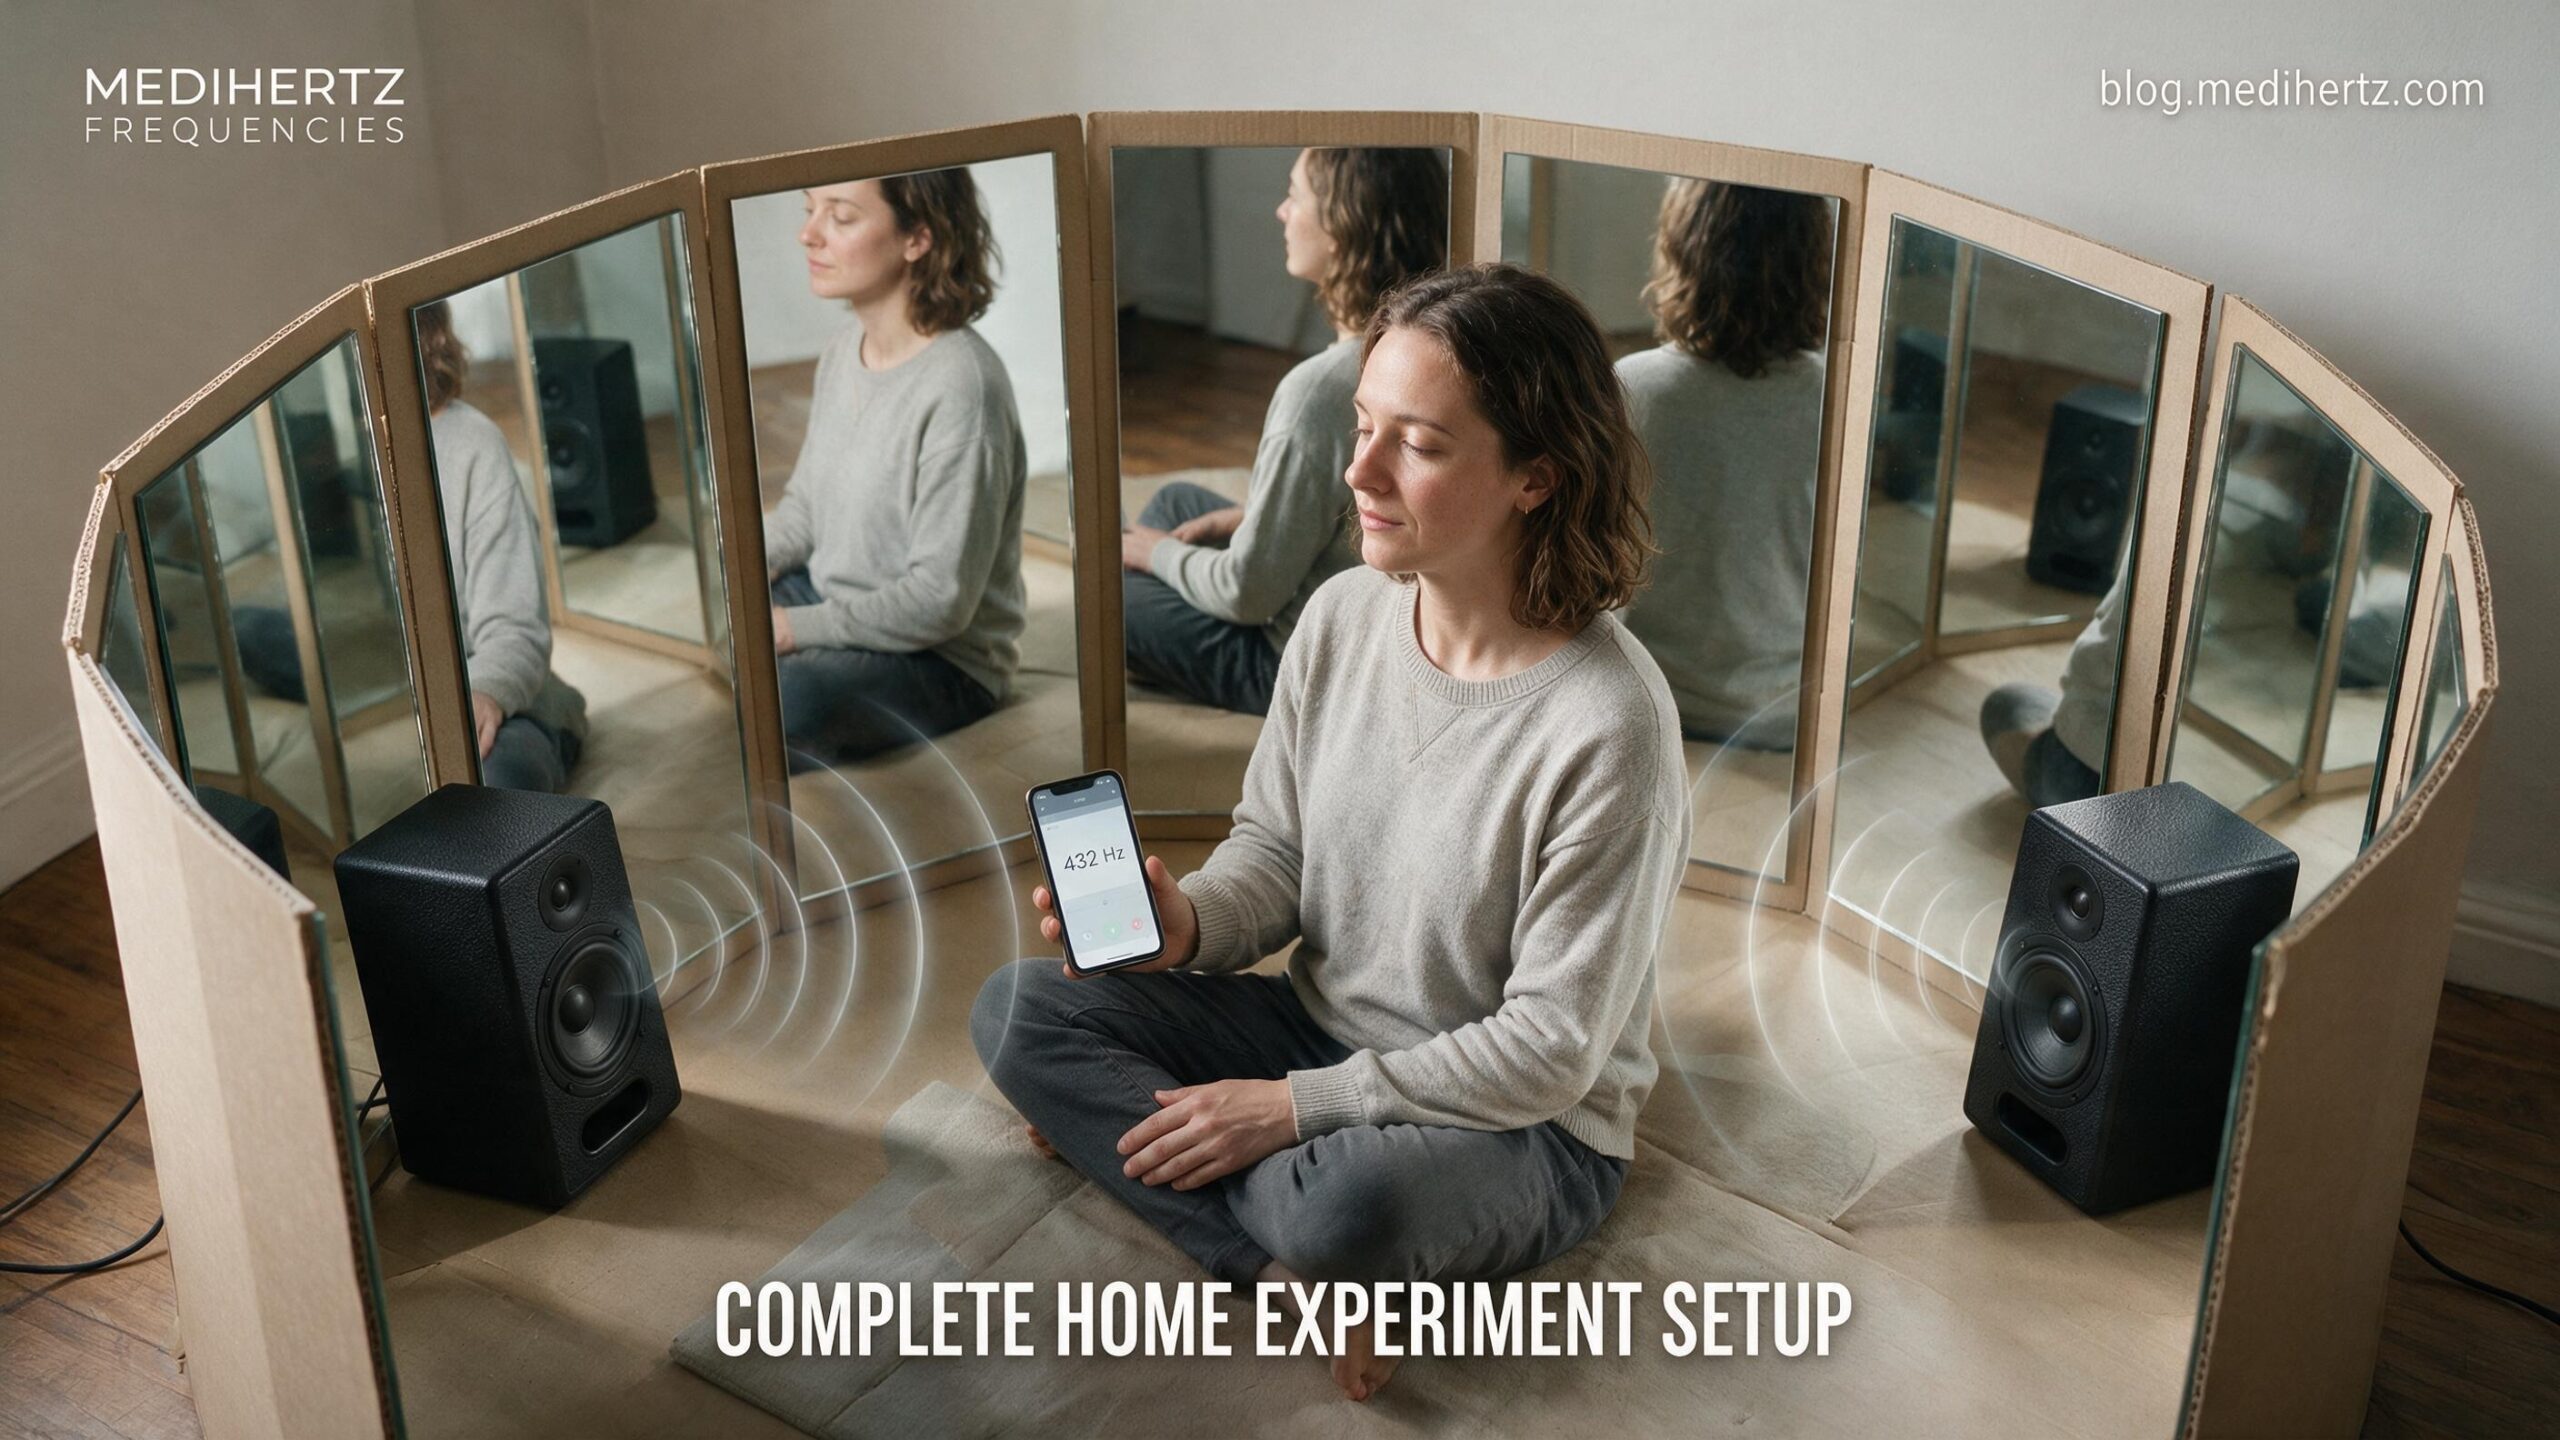
This is one of the most useful parts of the experiment.
Perform the same test twice.
Test A — Normal room
Sit in the room without the reflective structure.
Play:
432 Hz for 5 minutes
Record your observations.
Test B — Reflective enclosure
Repeat the same frequency at the same approximate volume while sitting inside the reflective setup.
Record the observations again.
Then repeat with another frequency.
This gives you a simple comparison:
| Condition | Frequency | Duration | Observations |
|---|---|---|---|
| Normal room | 432 Hz | 5 min | Record |
| Reflective setup | 432 Hz | 5 min | Record |
| Normal room | 528 Hz | 5 min | Record |
| Reflective setup | 528 Hz | 5 min | Record |
| Normal room | Brown noise | 5 min | Record |
| Reflective setup | Brown noise | 5 min | Record |
This is much more useful than simply sitting inside the structure and deciding afterward that something unusual happened.
13. What Could the Mirror Setup Change?
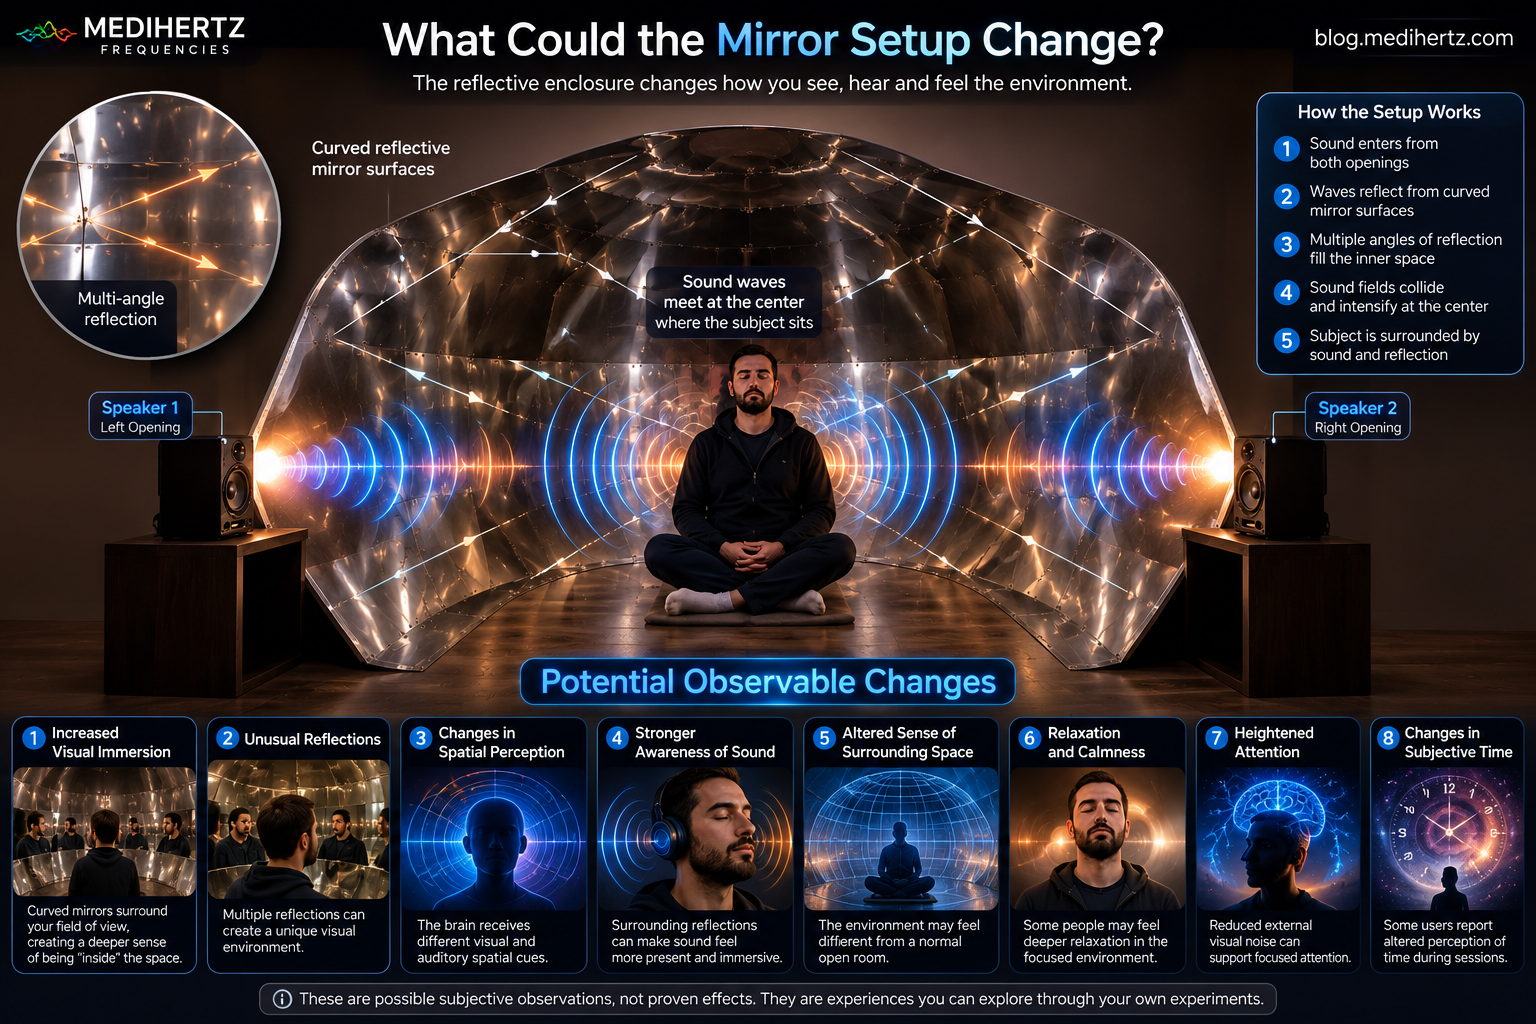
The reflective enclosure can change the visual and acoustic environment around the participant.
Multiple reflective surfaces can alter how light is perceived, while the enclosure and surrounding room can alter sound reflections.
That can make the environment feel different from an ordinary room.
You might notice:
- increased visual immersion
- unusual reflections
- changes in spatial perception
- stronger awareness of sound
- altered sense of the surrounding space
- relaxation
- heightened attention
- changes in subjective time perception
These experiences are not proof of the extraordinary claims sometimes associated with Kozyrev mirrors.
They are observations that can be explored experimentally.
14. Why Add Sound to the Experiment?
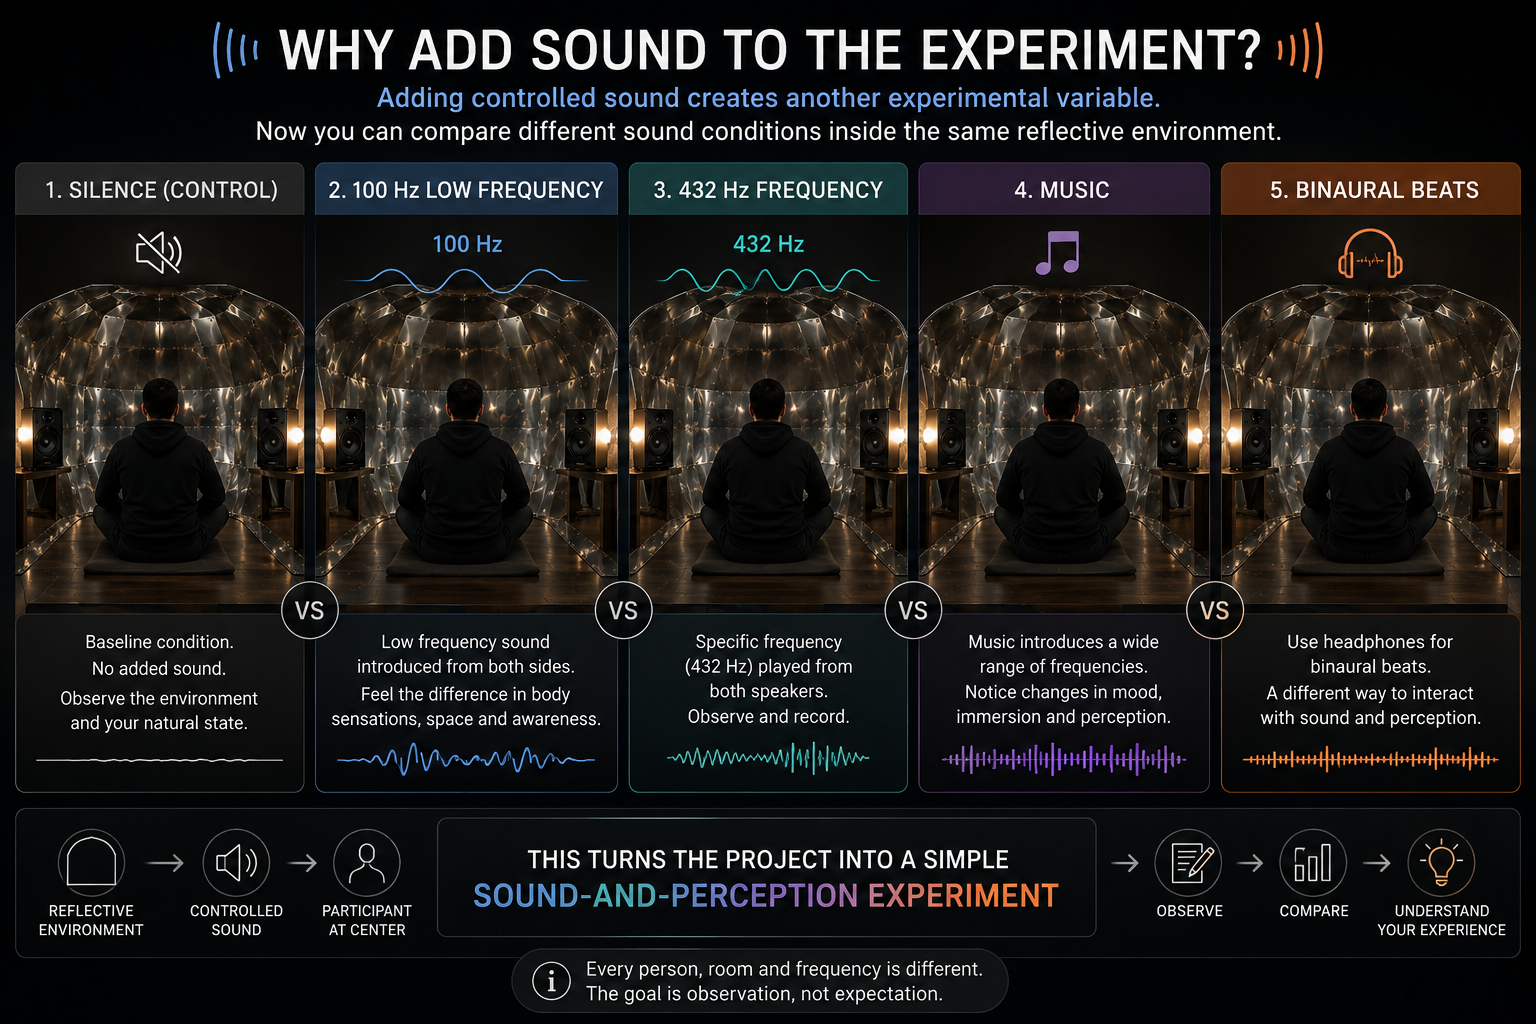
This is where the experiment becomes particularly interesting.
A traditional reflective enclosure experiment focuses mainly on the physical environment and the participant’s subjective experience.
Adding controlled sound creates another experimental variable.
Now you can compare:
Reflective environment + silence
versus
Reflective environment + 100 Hz
versus
Reflective environment + 432 Hz
versus
Reflective environment + music
versus
Reflective environment + binaural beats
This turns the project into a simple sound-and-perception experiment.
15. Don’t Assume One Frequency Is “Good” or “Bad”
It is tempting to create a chart saying that one frequency is positive for humans while another is negative.
But sound perception doesn’t work that simply.
A frequency can be comfortable at one volume and unpleasant at another.
The same sound can also affect people differently.
Room acoustics, speaker quality, hearing sensitivity, duration and personal preference all matter.
Therefore, instead of labeling frequencies as universally “good vibrations” or “bad vibrations,” use categories such as:
Low-frequency sound
Mid-frequency sound
High-frequency sound
Broadband noise
Music
Voice
Chanting
Binaural beats
and record your own observations.
16. A Simple Experimental Routine
If you want to make the experiment more systematic, use this routine.
Phase 1 — Baseline
5 minutes of silence.
Phase 2 — Low frequency
5 minutes around 100–200 Hz.
Phase 3 — Mid-range tone
5 minutes around 400–600 Hz.
Phase 4 — Higher tone
5 minutes around 1,000–2,000 Hz.
Phase 5 — Music
5 minutes of music.
Phase 6 — Ambient sound
5 minutes of rain, forest or ocean sounds.
Phase 7 — Binaural beats
5 minutes using headphones.
After every session, record:
Relaxation — 1 to 10
Focus — 1 to 10
Sound comfort — 1 to 10
Immersion — 1 to 10
Unusual sensations — 1 to 10
Overall experience
After several sessions, you can compare the results rather than relying on memory.
17. Use an Instant Frequency Listener
You can make the experiment even more interactive by using an online frequency tool.
Instead of downloading dozens of audio files, select a frequency, play it and observe the environment.
For example, you could move through a sequence:
174 Hz → 285 Hz → 396 Hz → 432 Hz → 528 Hz → 639 Hz → 741 Hz → 852 Hz
Then repeat the experiment using different noise types and music.
This allows the participant to become both the listener and observer of the experiment.
18. An Even More Interesting Experiment: Use Your Own Voice
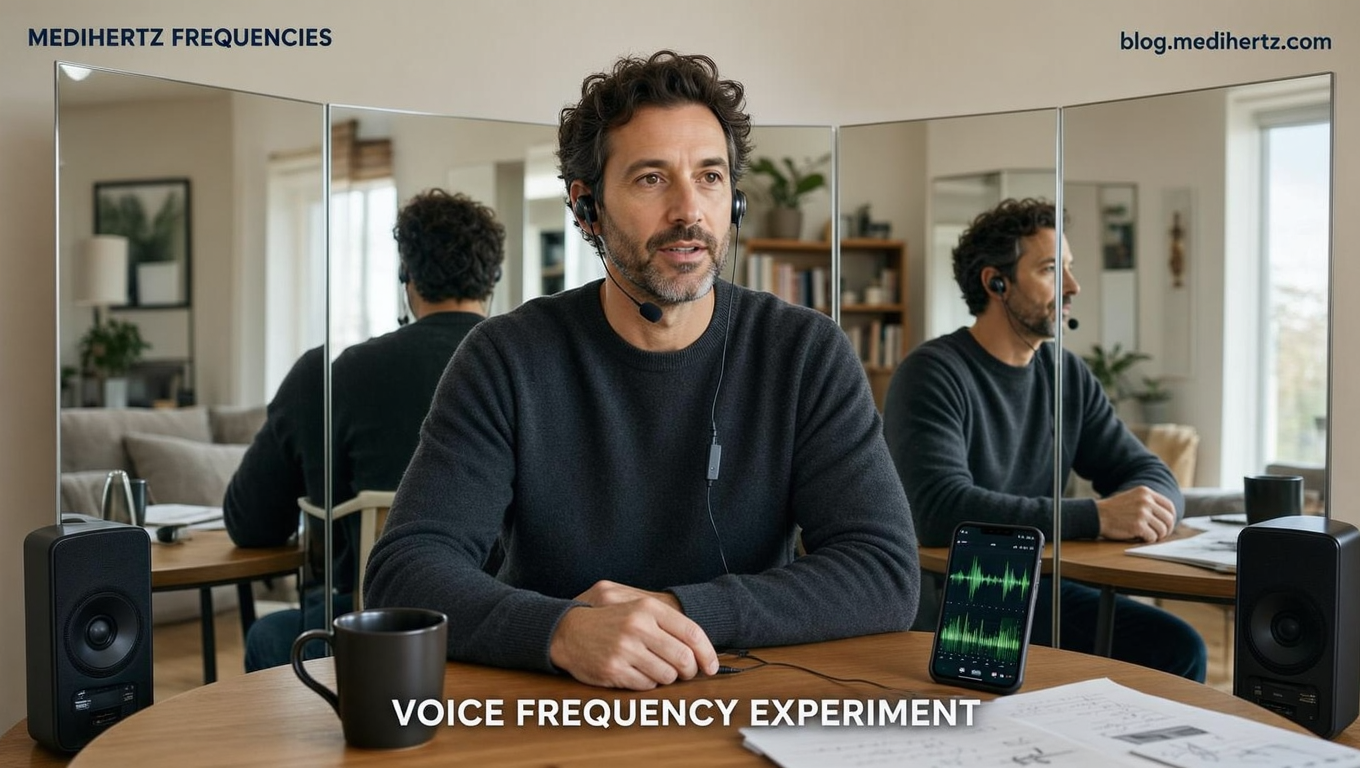
You can also introduce your own voice into the setup.
🎙️ See Your Own Voice Frequency in Real Time
Sit at the center and speak into a phone or microphone.
Try:
“Hello.”
Then try sustained sounds such as:
“Aaaaaa”
“Oooooo”
“Mmmmm”
You can observe the changing frequency spectrum of your voice with an audio visualizer or voice-frequency analyzer.
This creates a fascinating connection between:
Voice → Frequency → Sound → Reflection → Visual Pattern
Instead of only listening to a frequency generated by a machine, you’re introducing your own sound into the environment.
19. Watch the Sound Visually
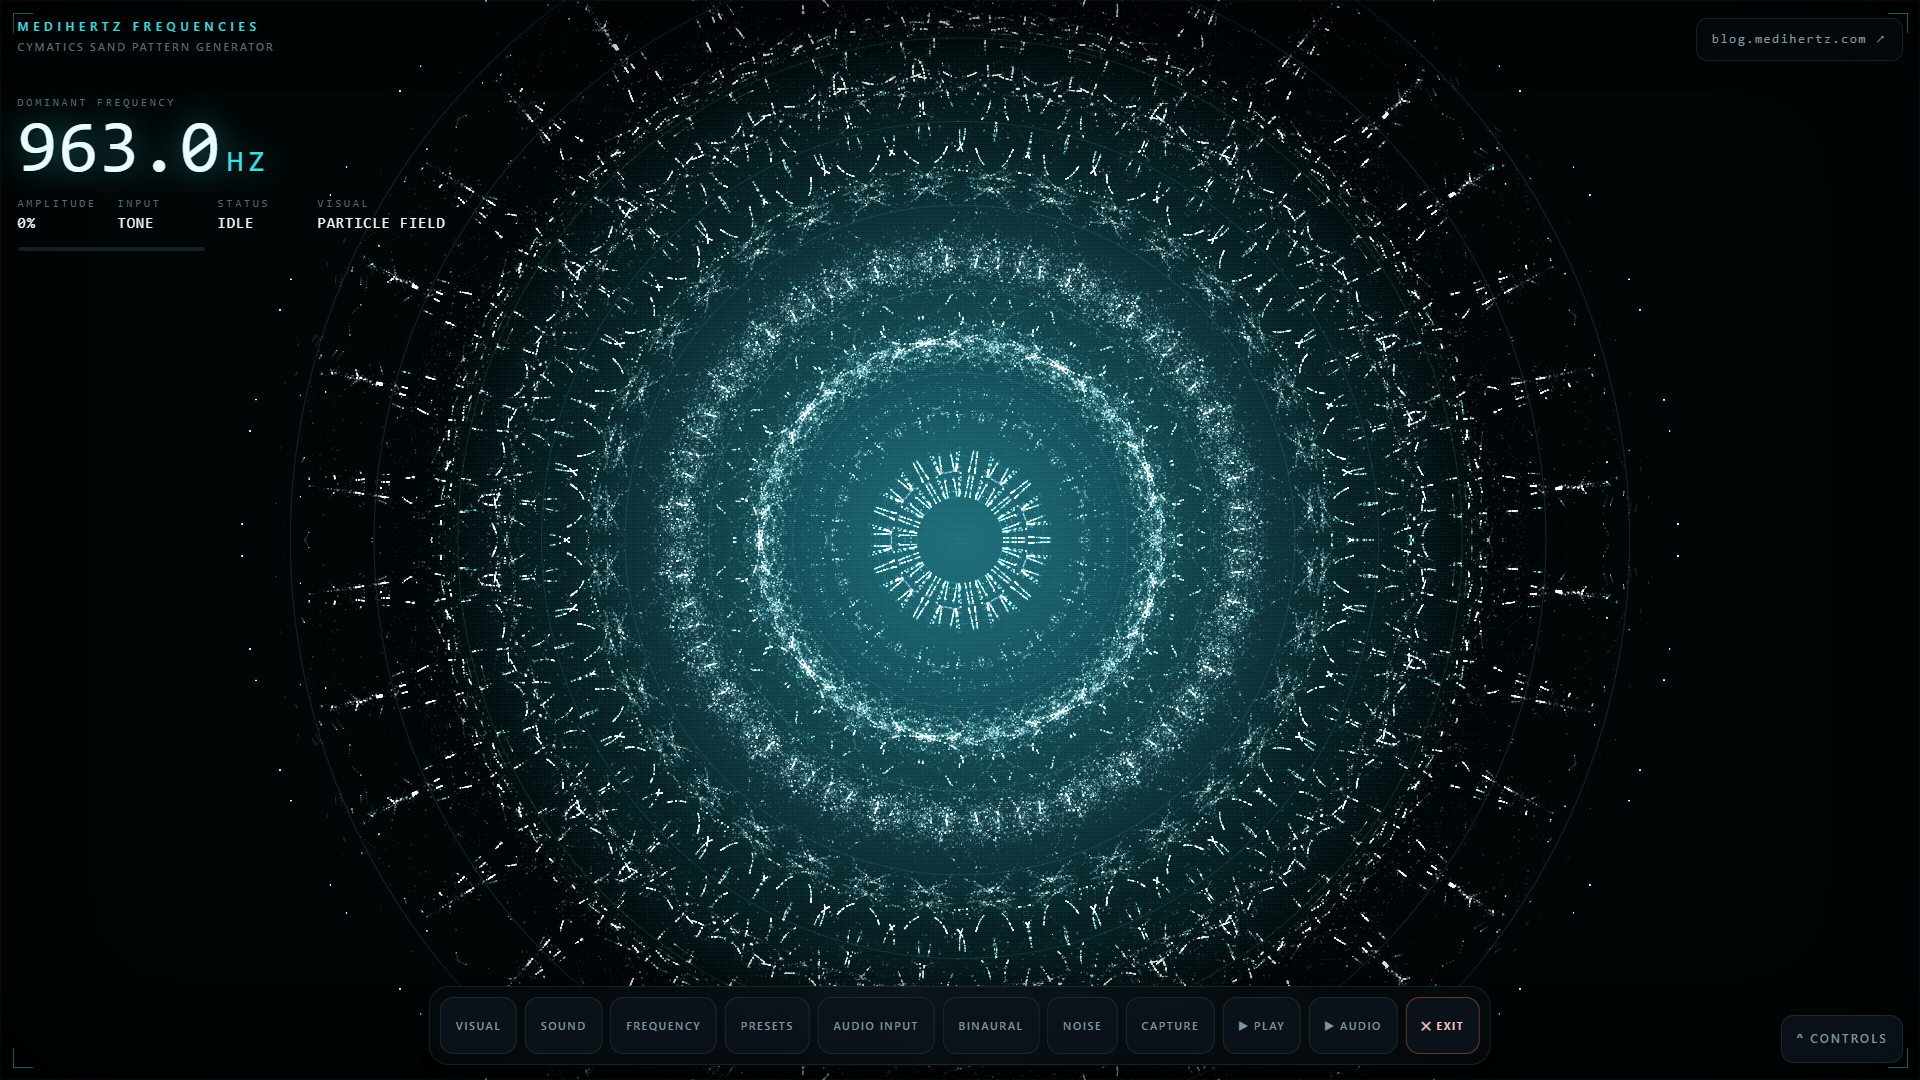
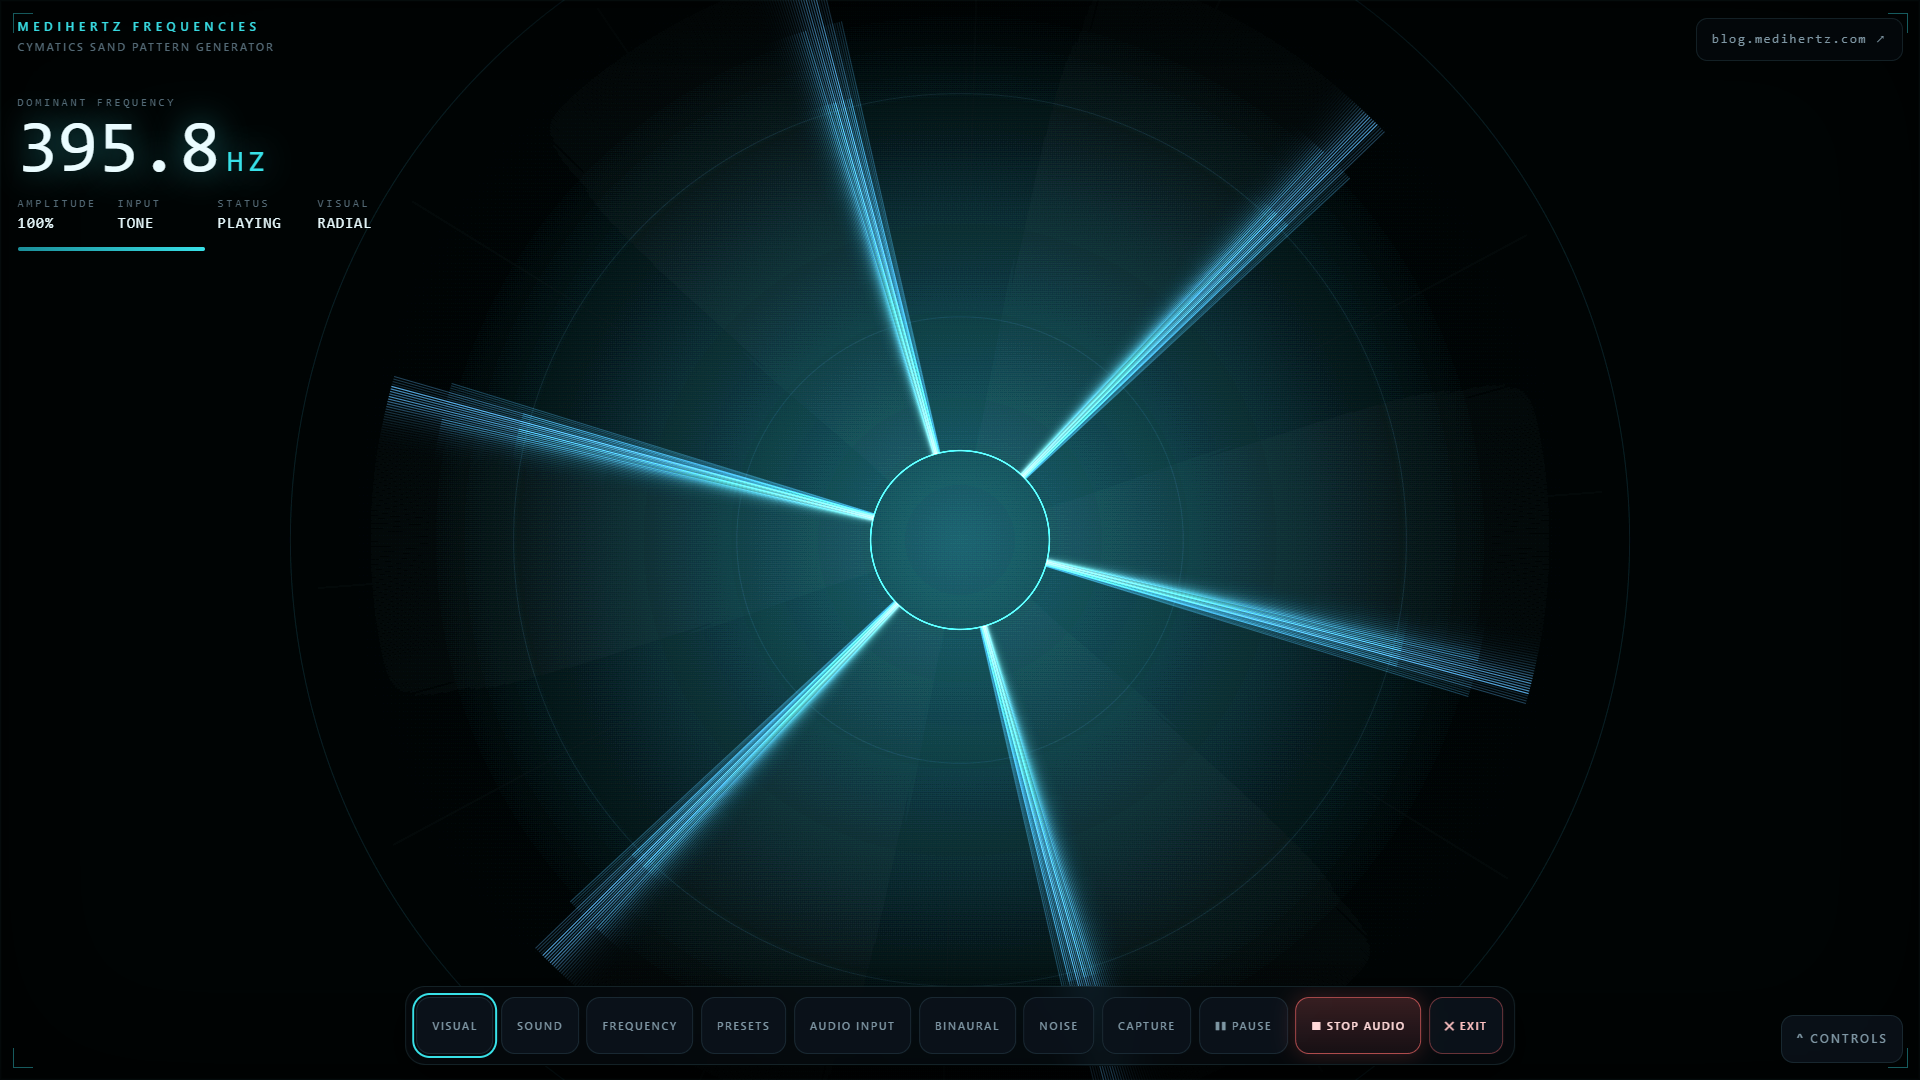
A further extension is to use an audio visualizer or cymatics-inspired visualizer while the experiment is running.
You can play a frequency and watch its visual representation change.
This gives you three layers of observation:
Sound
What you hear.
Frequency
The measurable audio signal.
Visual pattern
The graphical or cymatic-inspired representation of that signal.
This doesn’t mean the visual pattern proves a particular effect on consciousness. It simply provides a fascinating way to see the changing structure of sound.
20. What About the Original Kozyrev Claims?

This is where it is important to separate the experiment from the historical claims.
Kozyrev’s name has become associated with claims involving:
- time
- consciousness
- astronomical phenomena
- information
- unusual subjective experiences
Some modern discussions go much further and describe Kozyrev mirrors as devices capable of enhancing psychic perception or allowing people to perceive the future.
Those claims should be treated as hypotheses or fringe interpretations rather than established scientific facts.
A home experiment cannot establish those claims by itself.
What you can investigate is much simpler:
Does changing the reflective environment and introducing controlled sound frequencies change the participant’s subjective experience or the acoustic environment?
That is a much more interesting question to test.
21. Safety First
Keep the experiment comfortable and controlled.
- Do not use excessively loud sound.
- Stop if you experience discomfort, dizziness, headache or unusual distress.
- Don’t use flashing lights or rapidly changing visual effects if they make you uncomfortable.
- Never seal yourself inside an enclosure.
- Keep adequate ventilation.
- Secure mirrors properly so they cannot fall or break.
- Don’t conduct the experiment while driving or operating machinery.
- If using headphones for binaural beats, keep the volume comfortable.
The purpose is observation and exploration—not extreme sensory stimulation.
22. The Complete Home Experiment
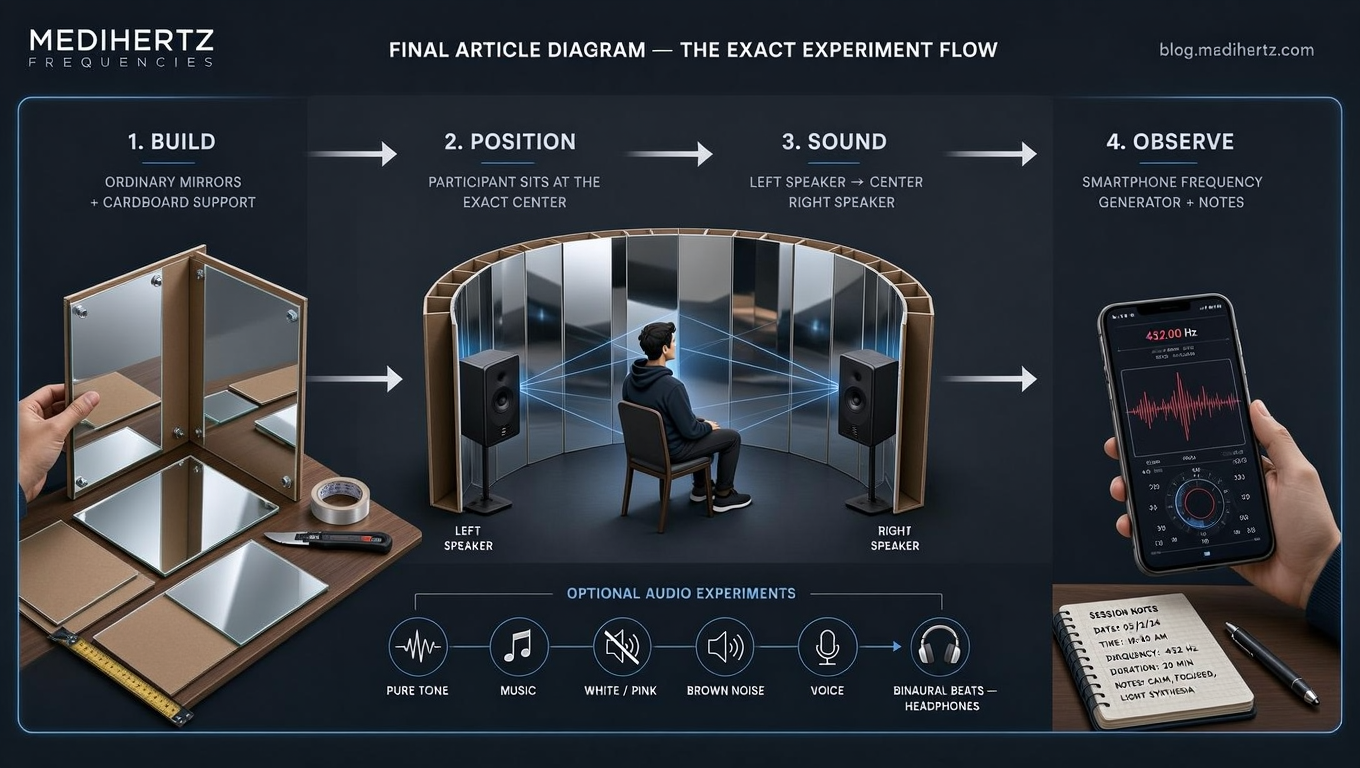
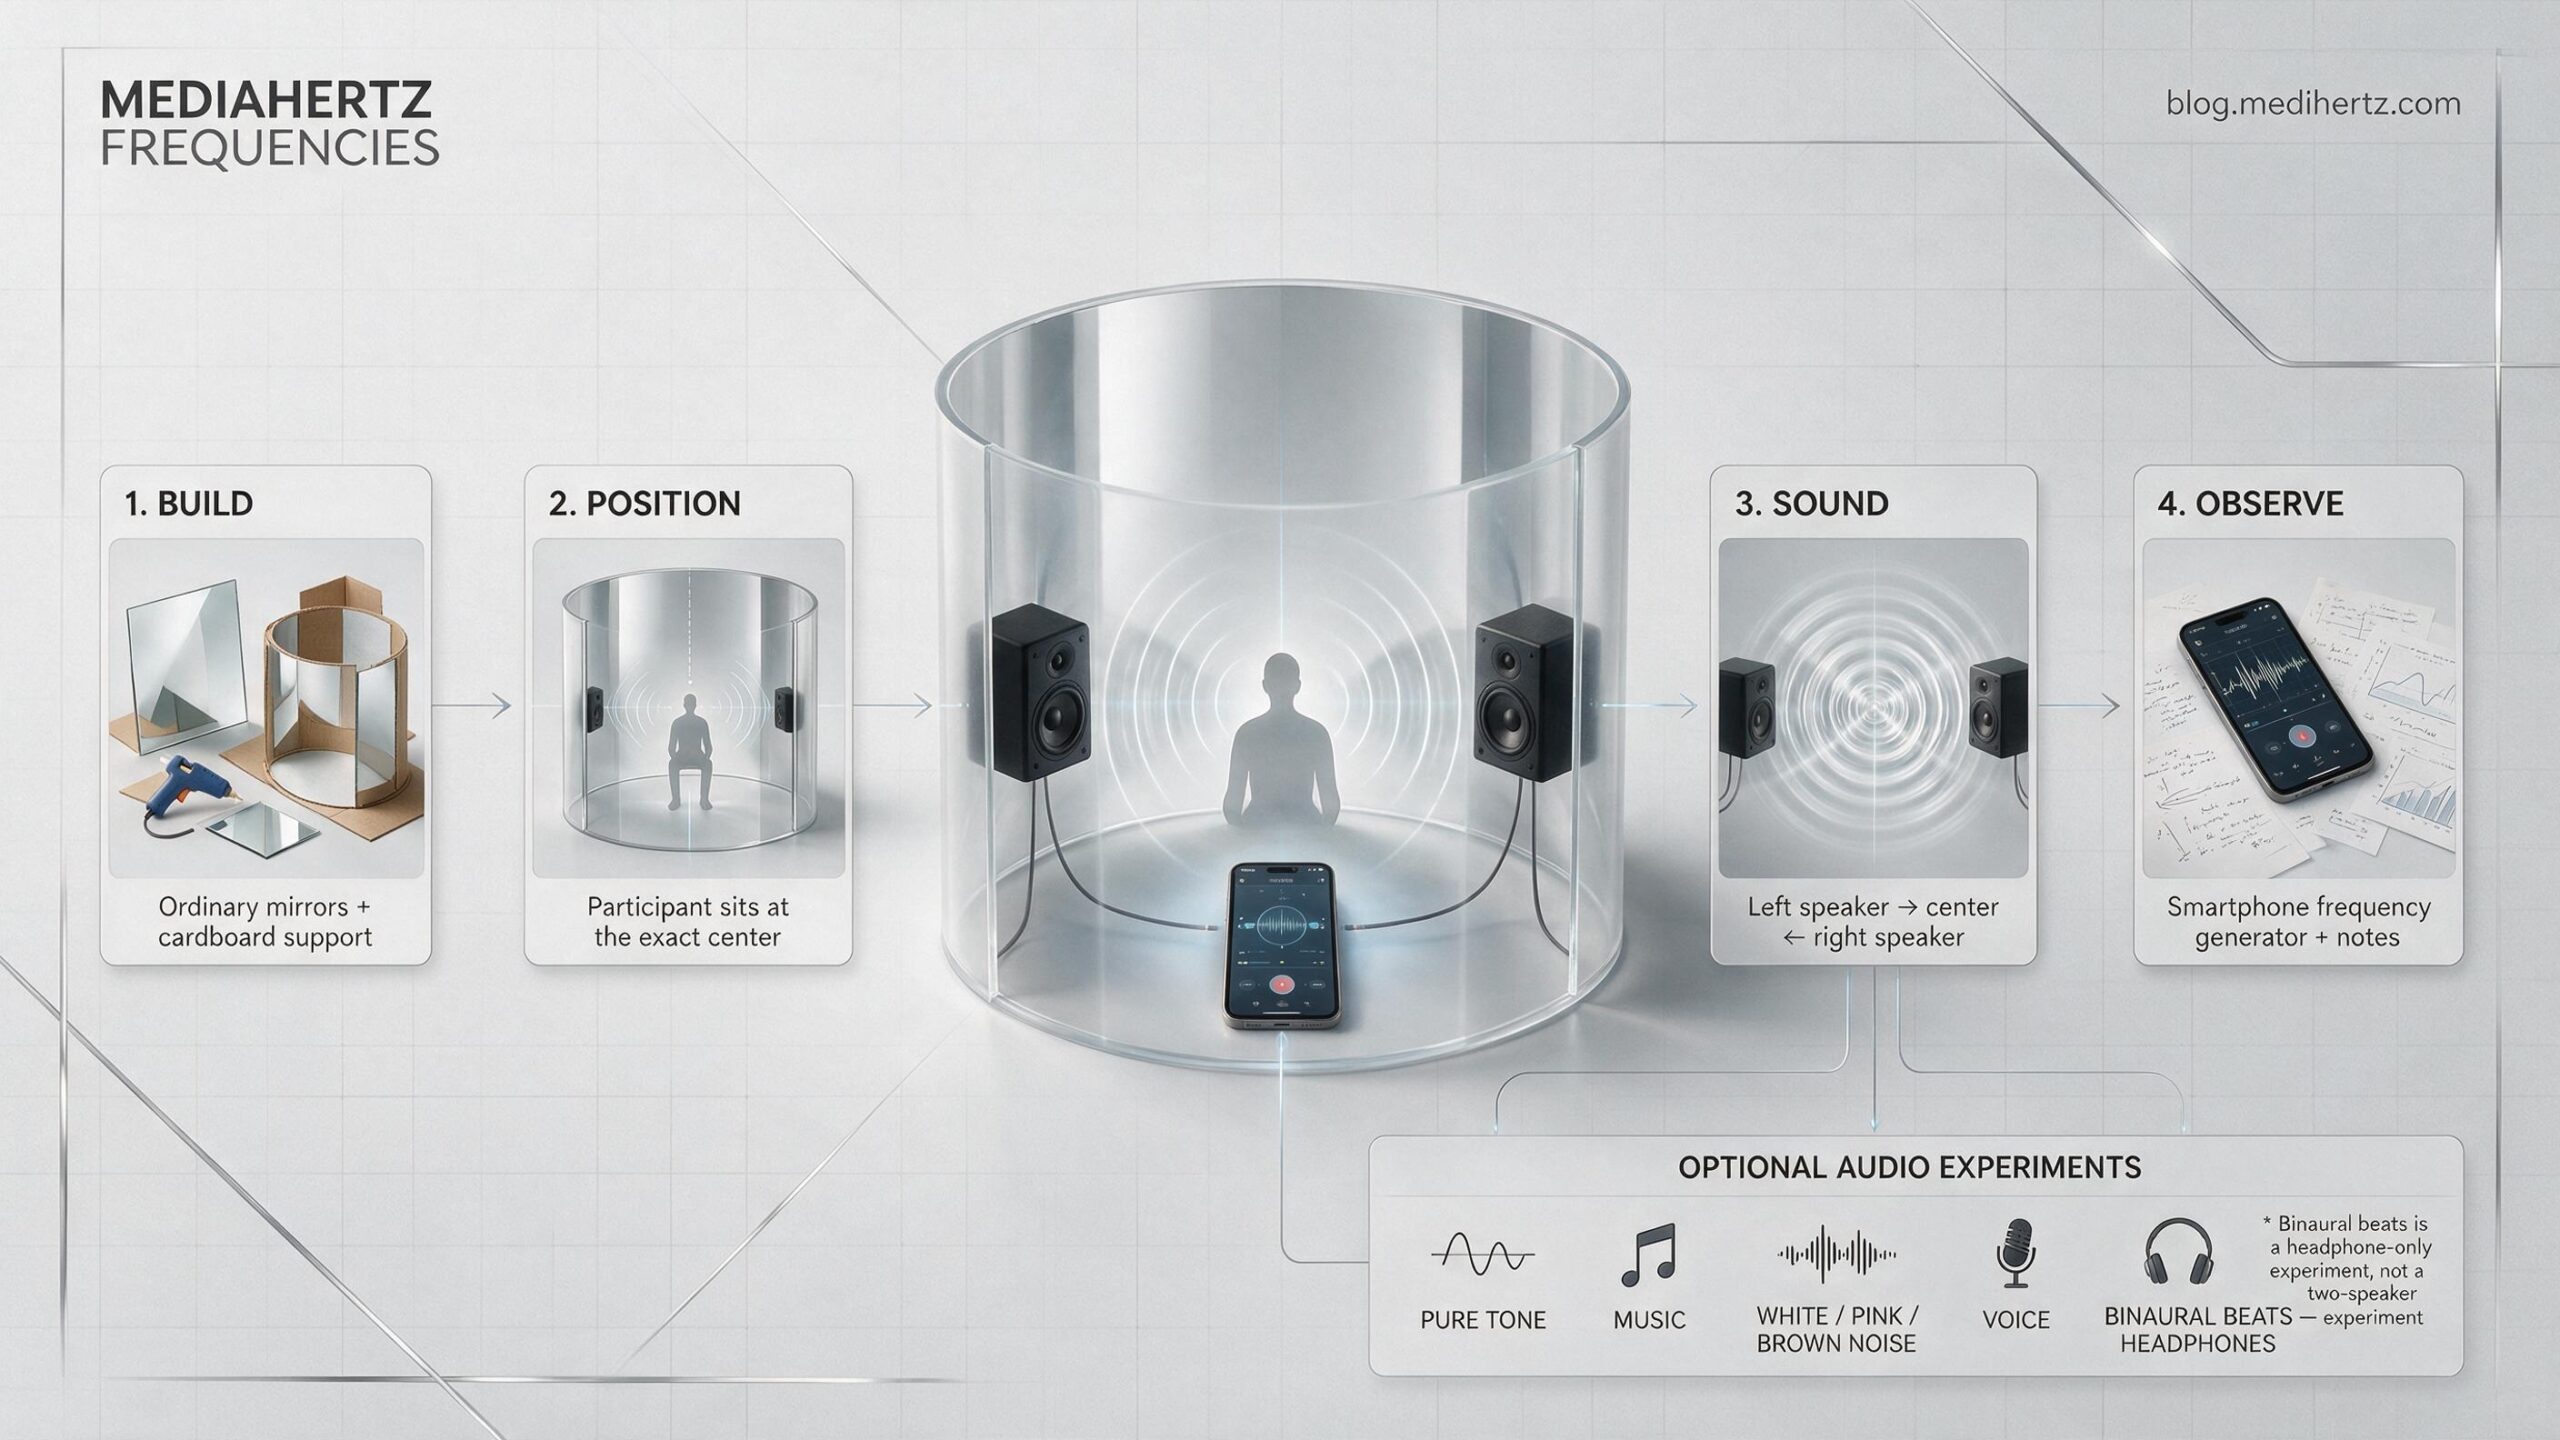
You can think of the entire project as four layers:
Layer 1 — Reflective Environment
Ordinary mirrors or aluminium-covered cardboard arranged into a curved enclosure.
↓
Layer 2 — Participant
A person sitting approximately at the center.
↓
Layer 3 — Sound
Two speakers positioned at the left and right openings and directed toward the center.
↓
Layer 4 — Observation
Frequency analyzer, audio visualizer, notes and subjective ratings.
This creates a simple experimental environment that almost anyone can reproduce.
And the most interesting part is that you don’t have to decide beforehand what you’re supposed to experience.
You can test it.
You can compare frequencies.
You can compare silence with sound.
You can compare the normal room with the reflective enclosure.
You can try your own voice.
You can try music.
You can try noise.
You can try binaural beats with headphones.
Then record what actually happens.
Final Thought
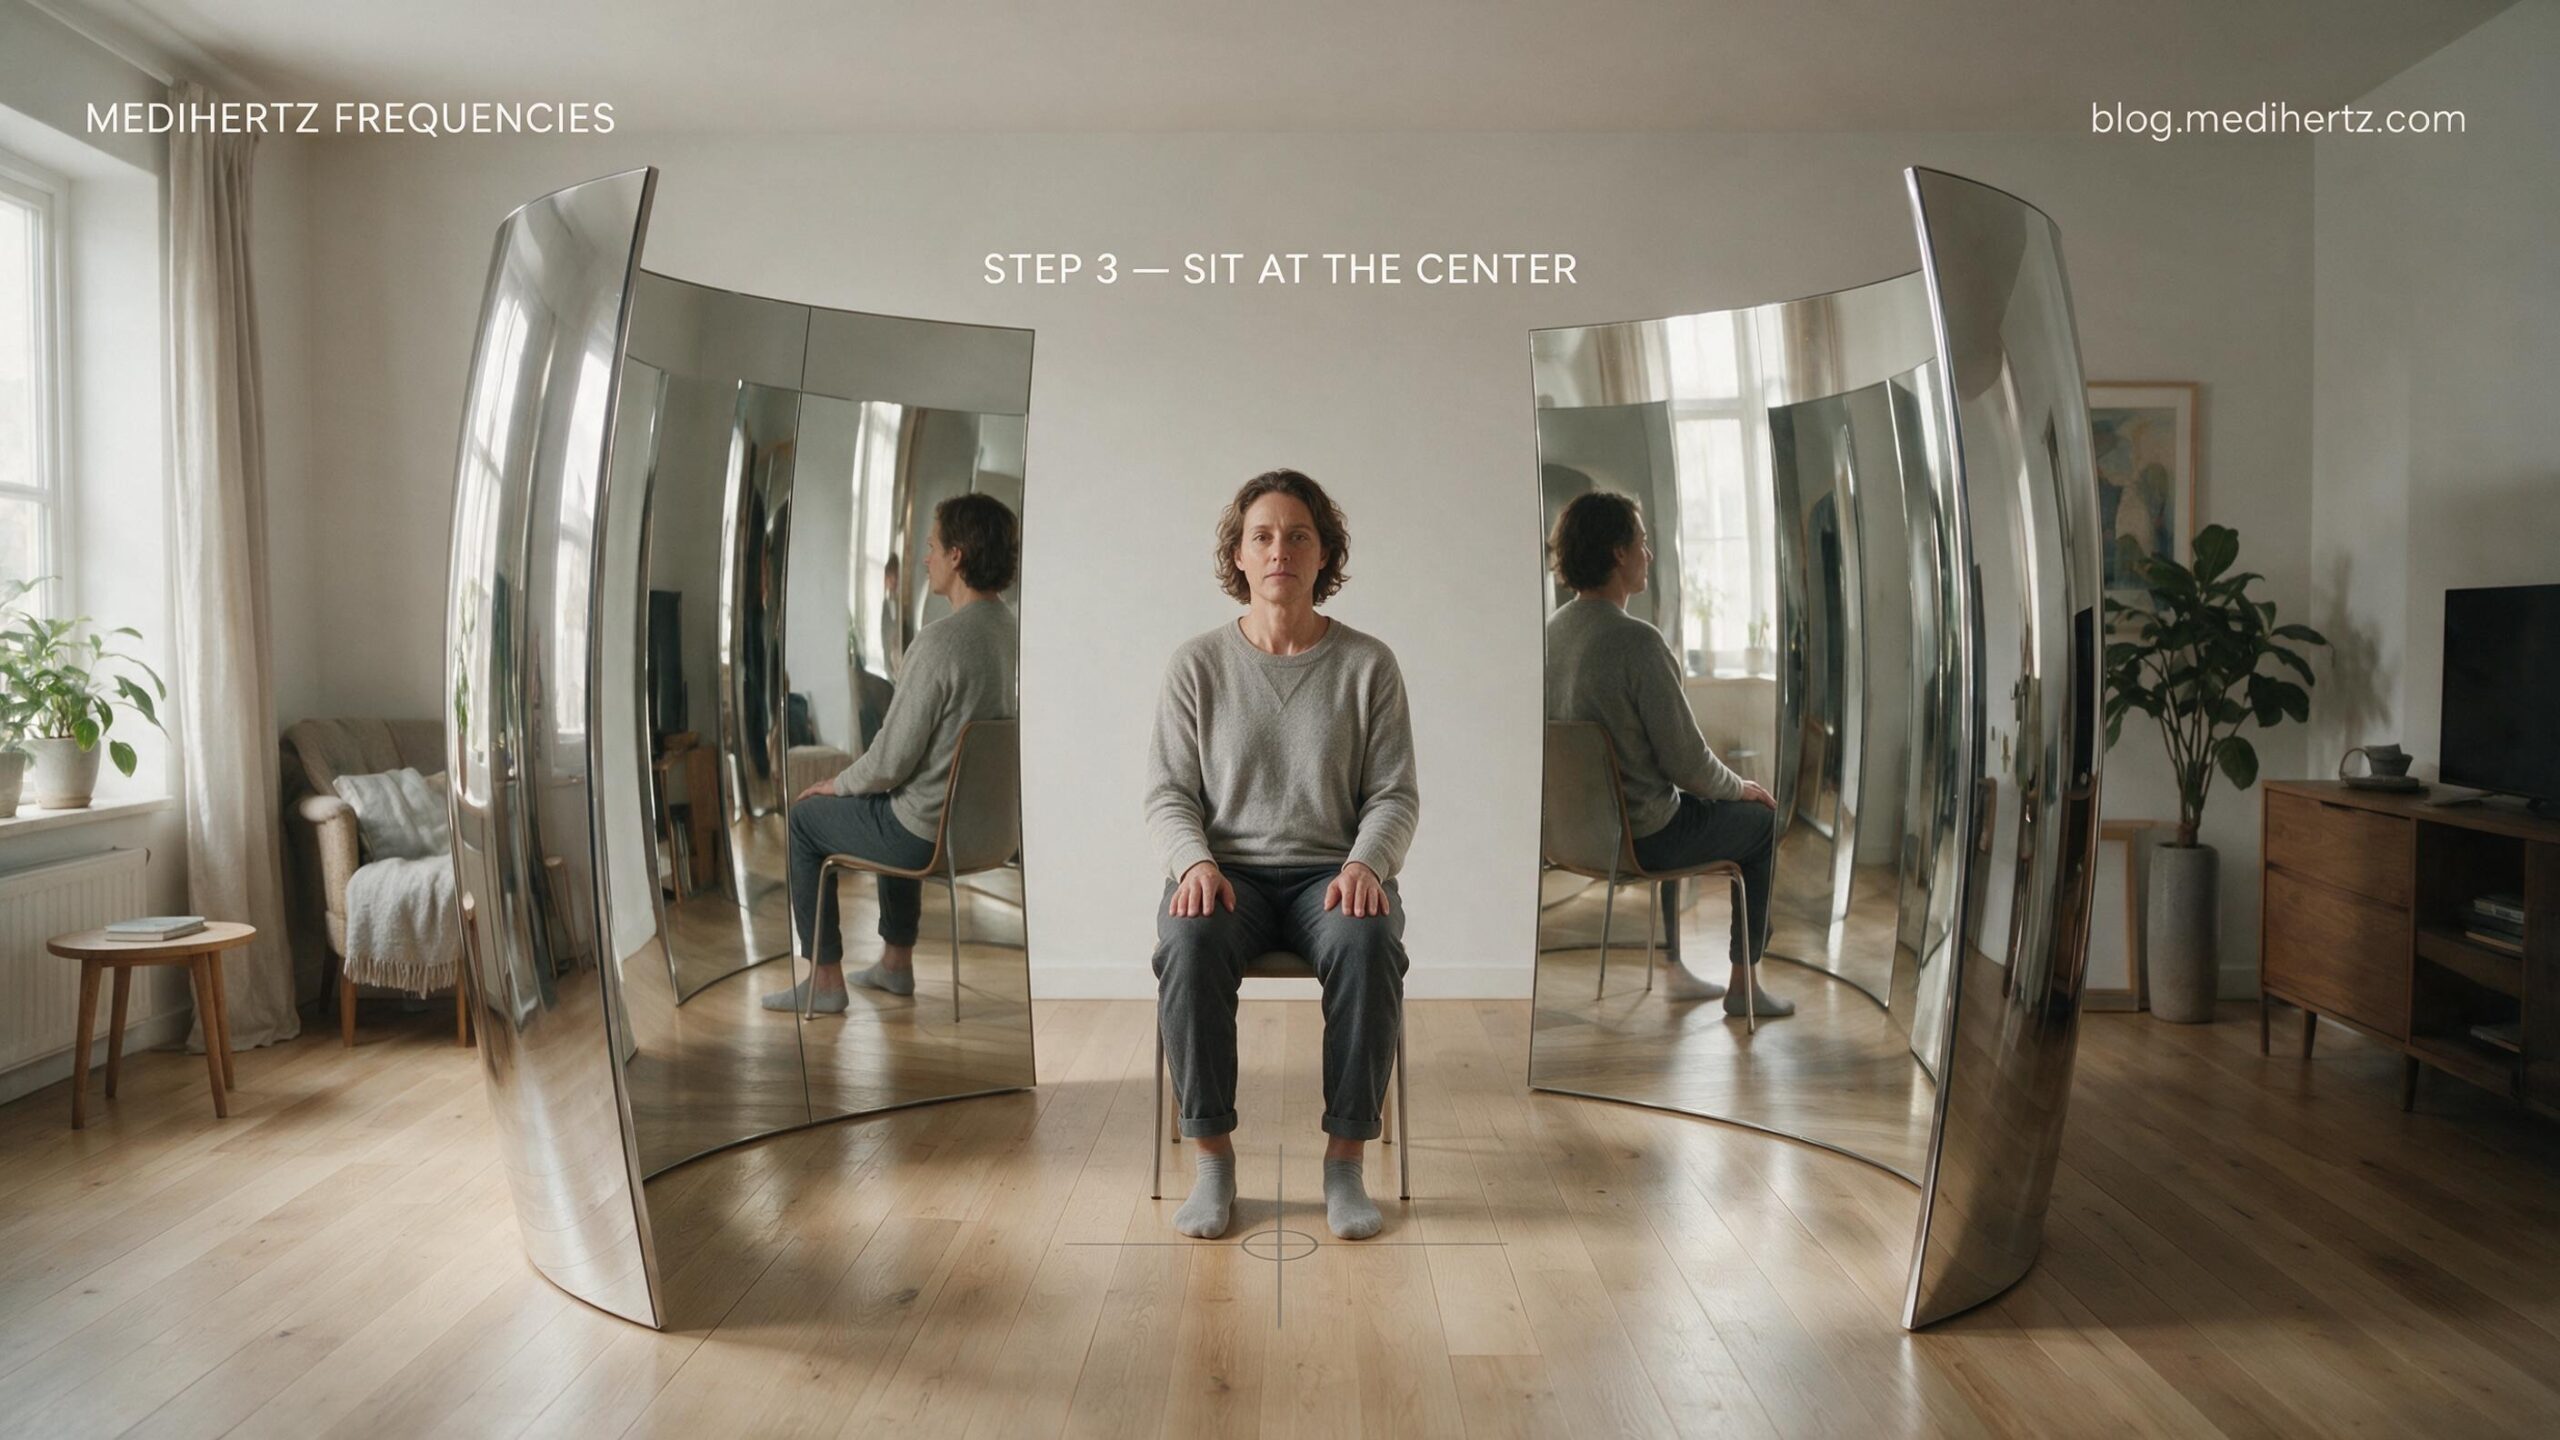
The most valuable part of a modern Kozyrev mirror experiment may not be trying to recreate every extraordinary claim associated with the original concept.
It may be creating a controlled environment where reflection, sound, frequency and human perception can be explored together.
With inexpensive mirrors, cardboard, aluminium foil, two speakers and a smartphone, you can build a simple version at home and begin experimenting.
The real question isn’t:
“What am I supposed to experience?”
It’s:
“What changes when I introduce different sounds into the same reflective environment—and can I observe those changes consistently?”
That question turns the Kozyrev mirror from an internet mystery into a fascinating DIY sound, reflection and perception experiment.
Read Further
- Kozyrev Mirror vs Mirror Meditation: Why You Don’t Need a Lab to Explore Consciousness
-
Best Sound Healing Frequencies for Meditation (Complete Guide)
☸
